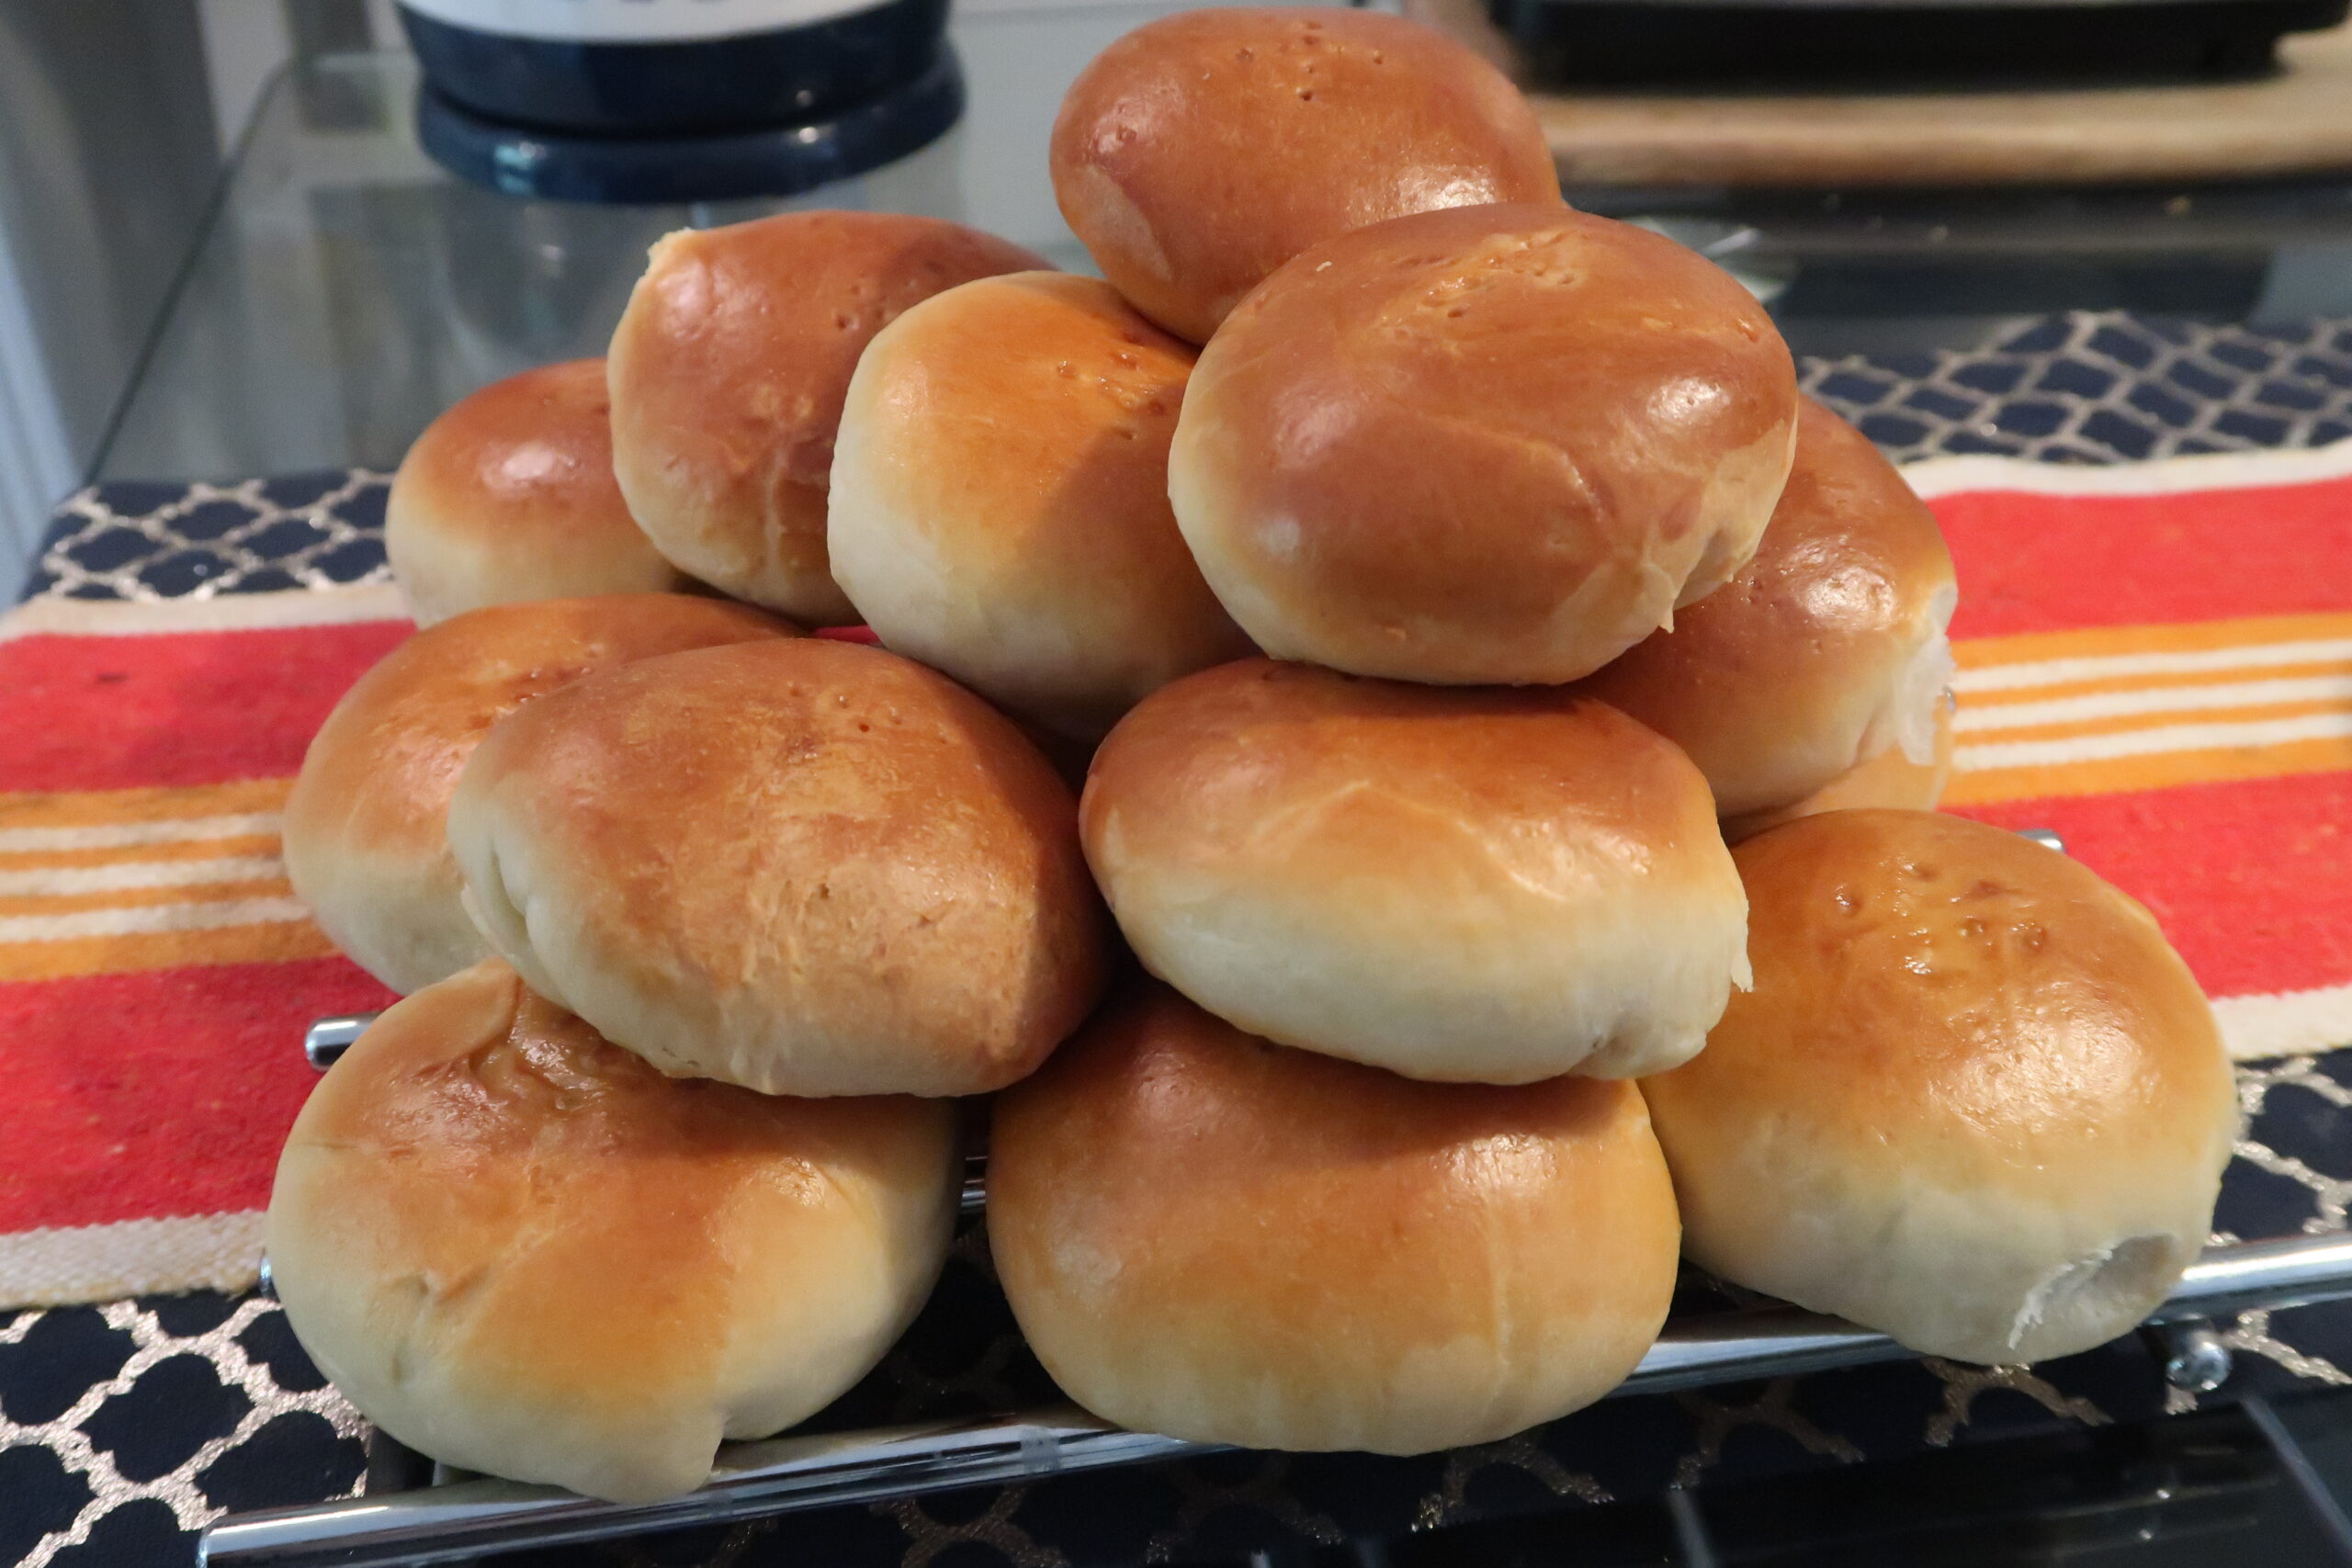
Thursday, July 29, 2021

My New Baking Tools

Hello guys! I just bought a new baking tools online and yes! it finally delivered home. I got 5 items that I know I would definitely needed for my future baking video. By the way if you're looking for more tools, check out my Amazon storefront, where I have all my favorite tools on one page. Keep in mind that some of the links below together with the photos are affiliate links in which I can earn a small amount on each sale. These small earnings help keep this site up and running — so thank you if you'll ever considered buying πŸ˜‚ and happy baking!

♥ BUY in LAZADA Together Lights Up the Moment : Up to 17% OFF + FREEBIES worth 1499

πŸ‘‰https://invol.co/cl589iq 

πŸ‘‰ https://invol.co/cl2k12o

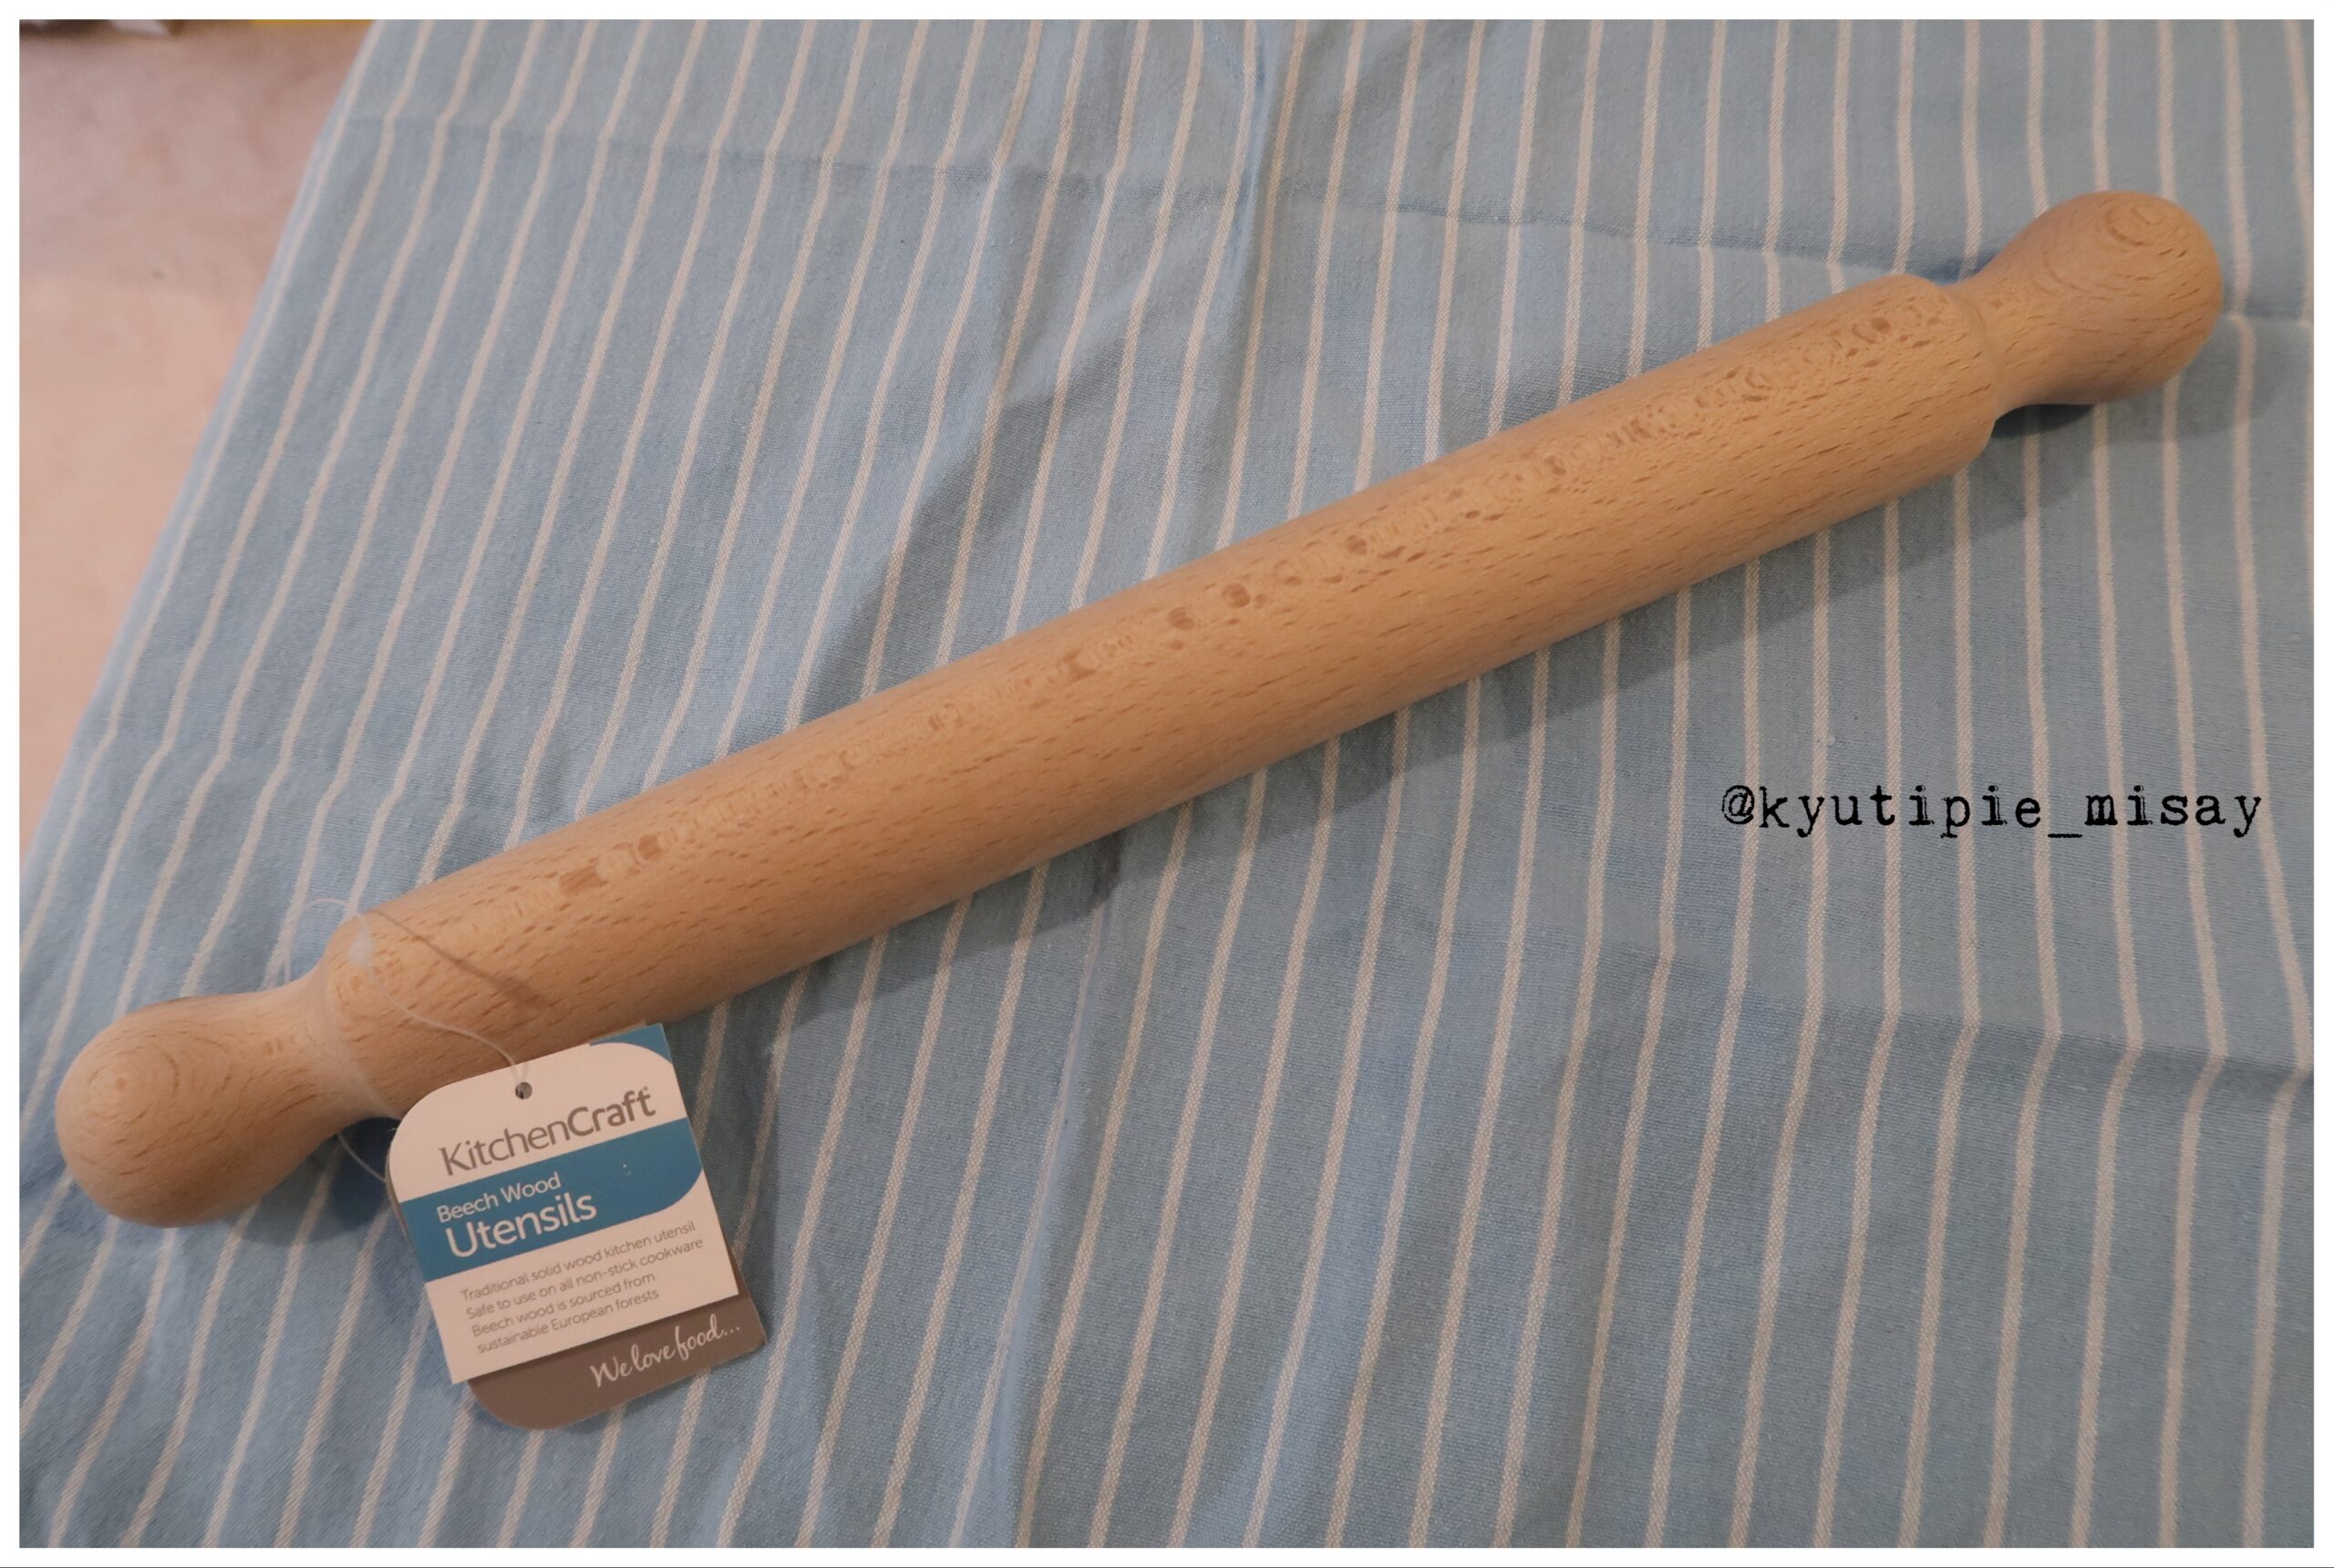
​🍩​ The first item I bought is this kitchen Craft wood rolling pin, the size of 40 cm that is made of beech wood. The size is really decent, not too big and not too small. I always use it now whenever I wanted to make pizza and bread at home. The quality of this rolling pin is also really good. For the price I highly recommend it.

Check this link if you want to buy the same wooden rolling pin :πŸ‘‡

https://www.lyckasmedmat.se/kavlar

https://www.lazada.com.ph/Woodrollingpin

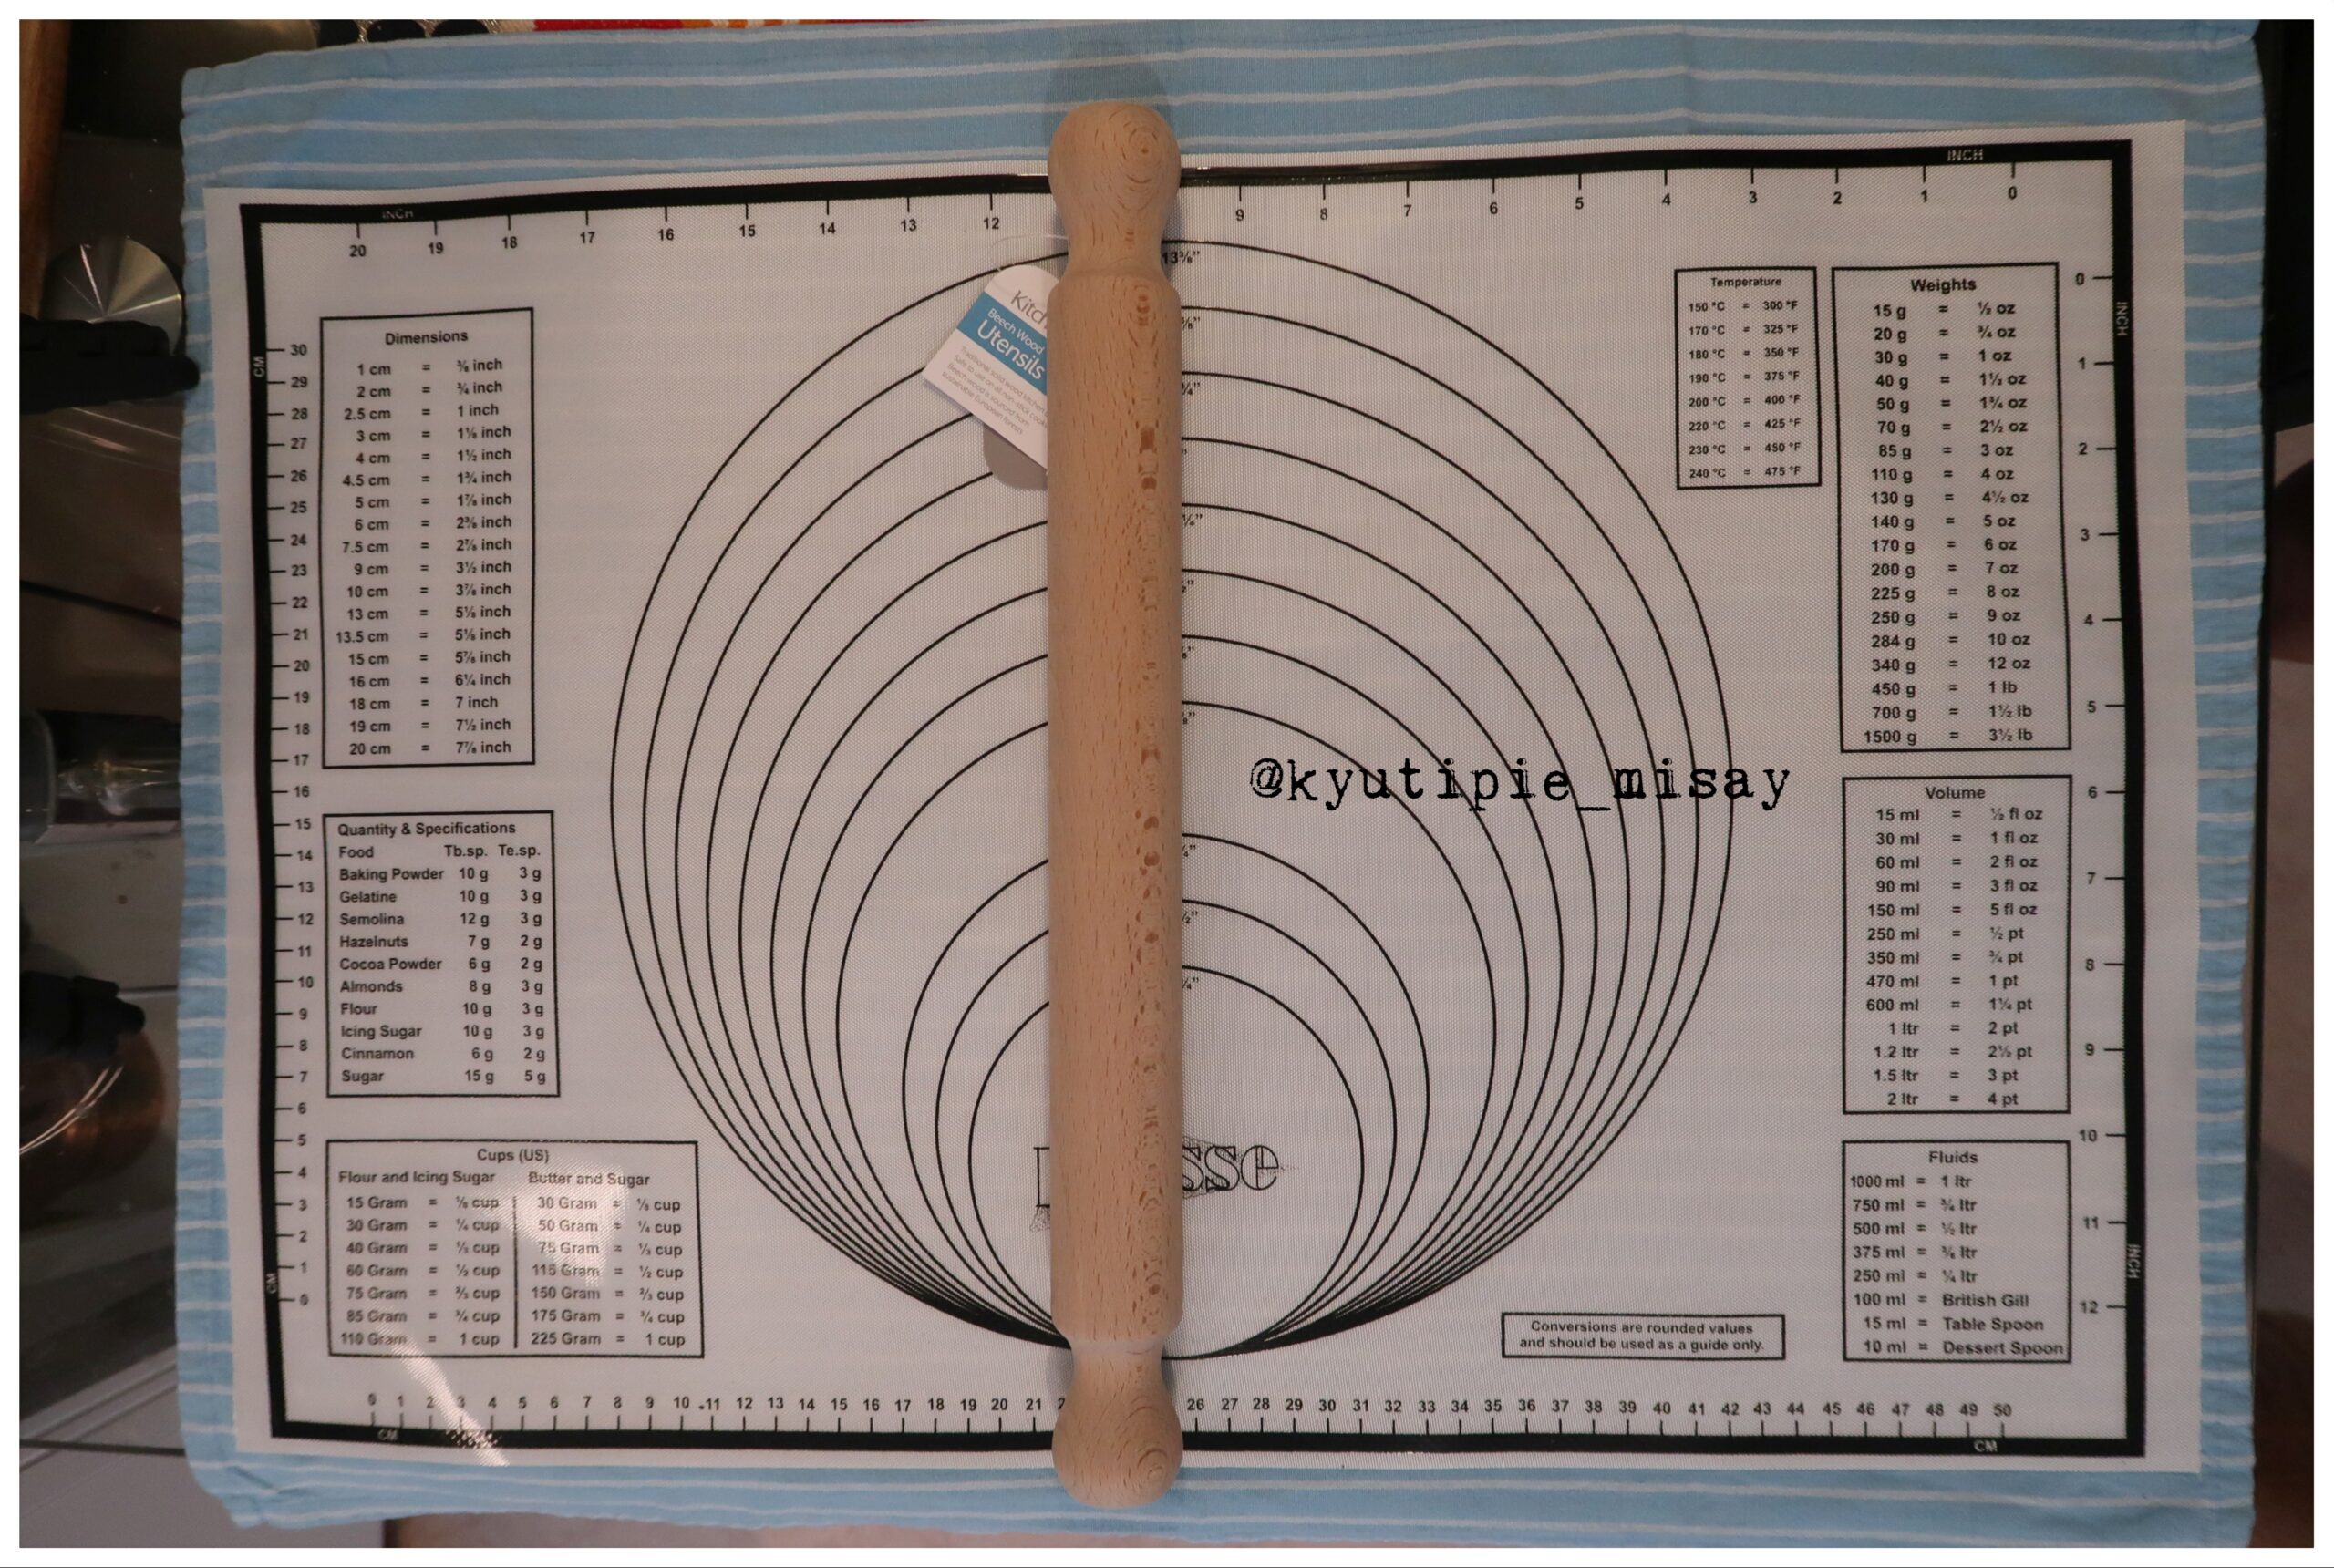
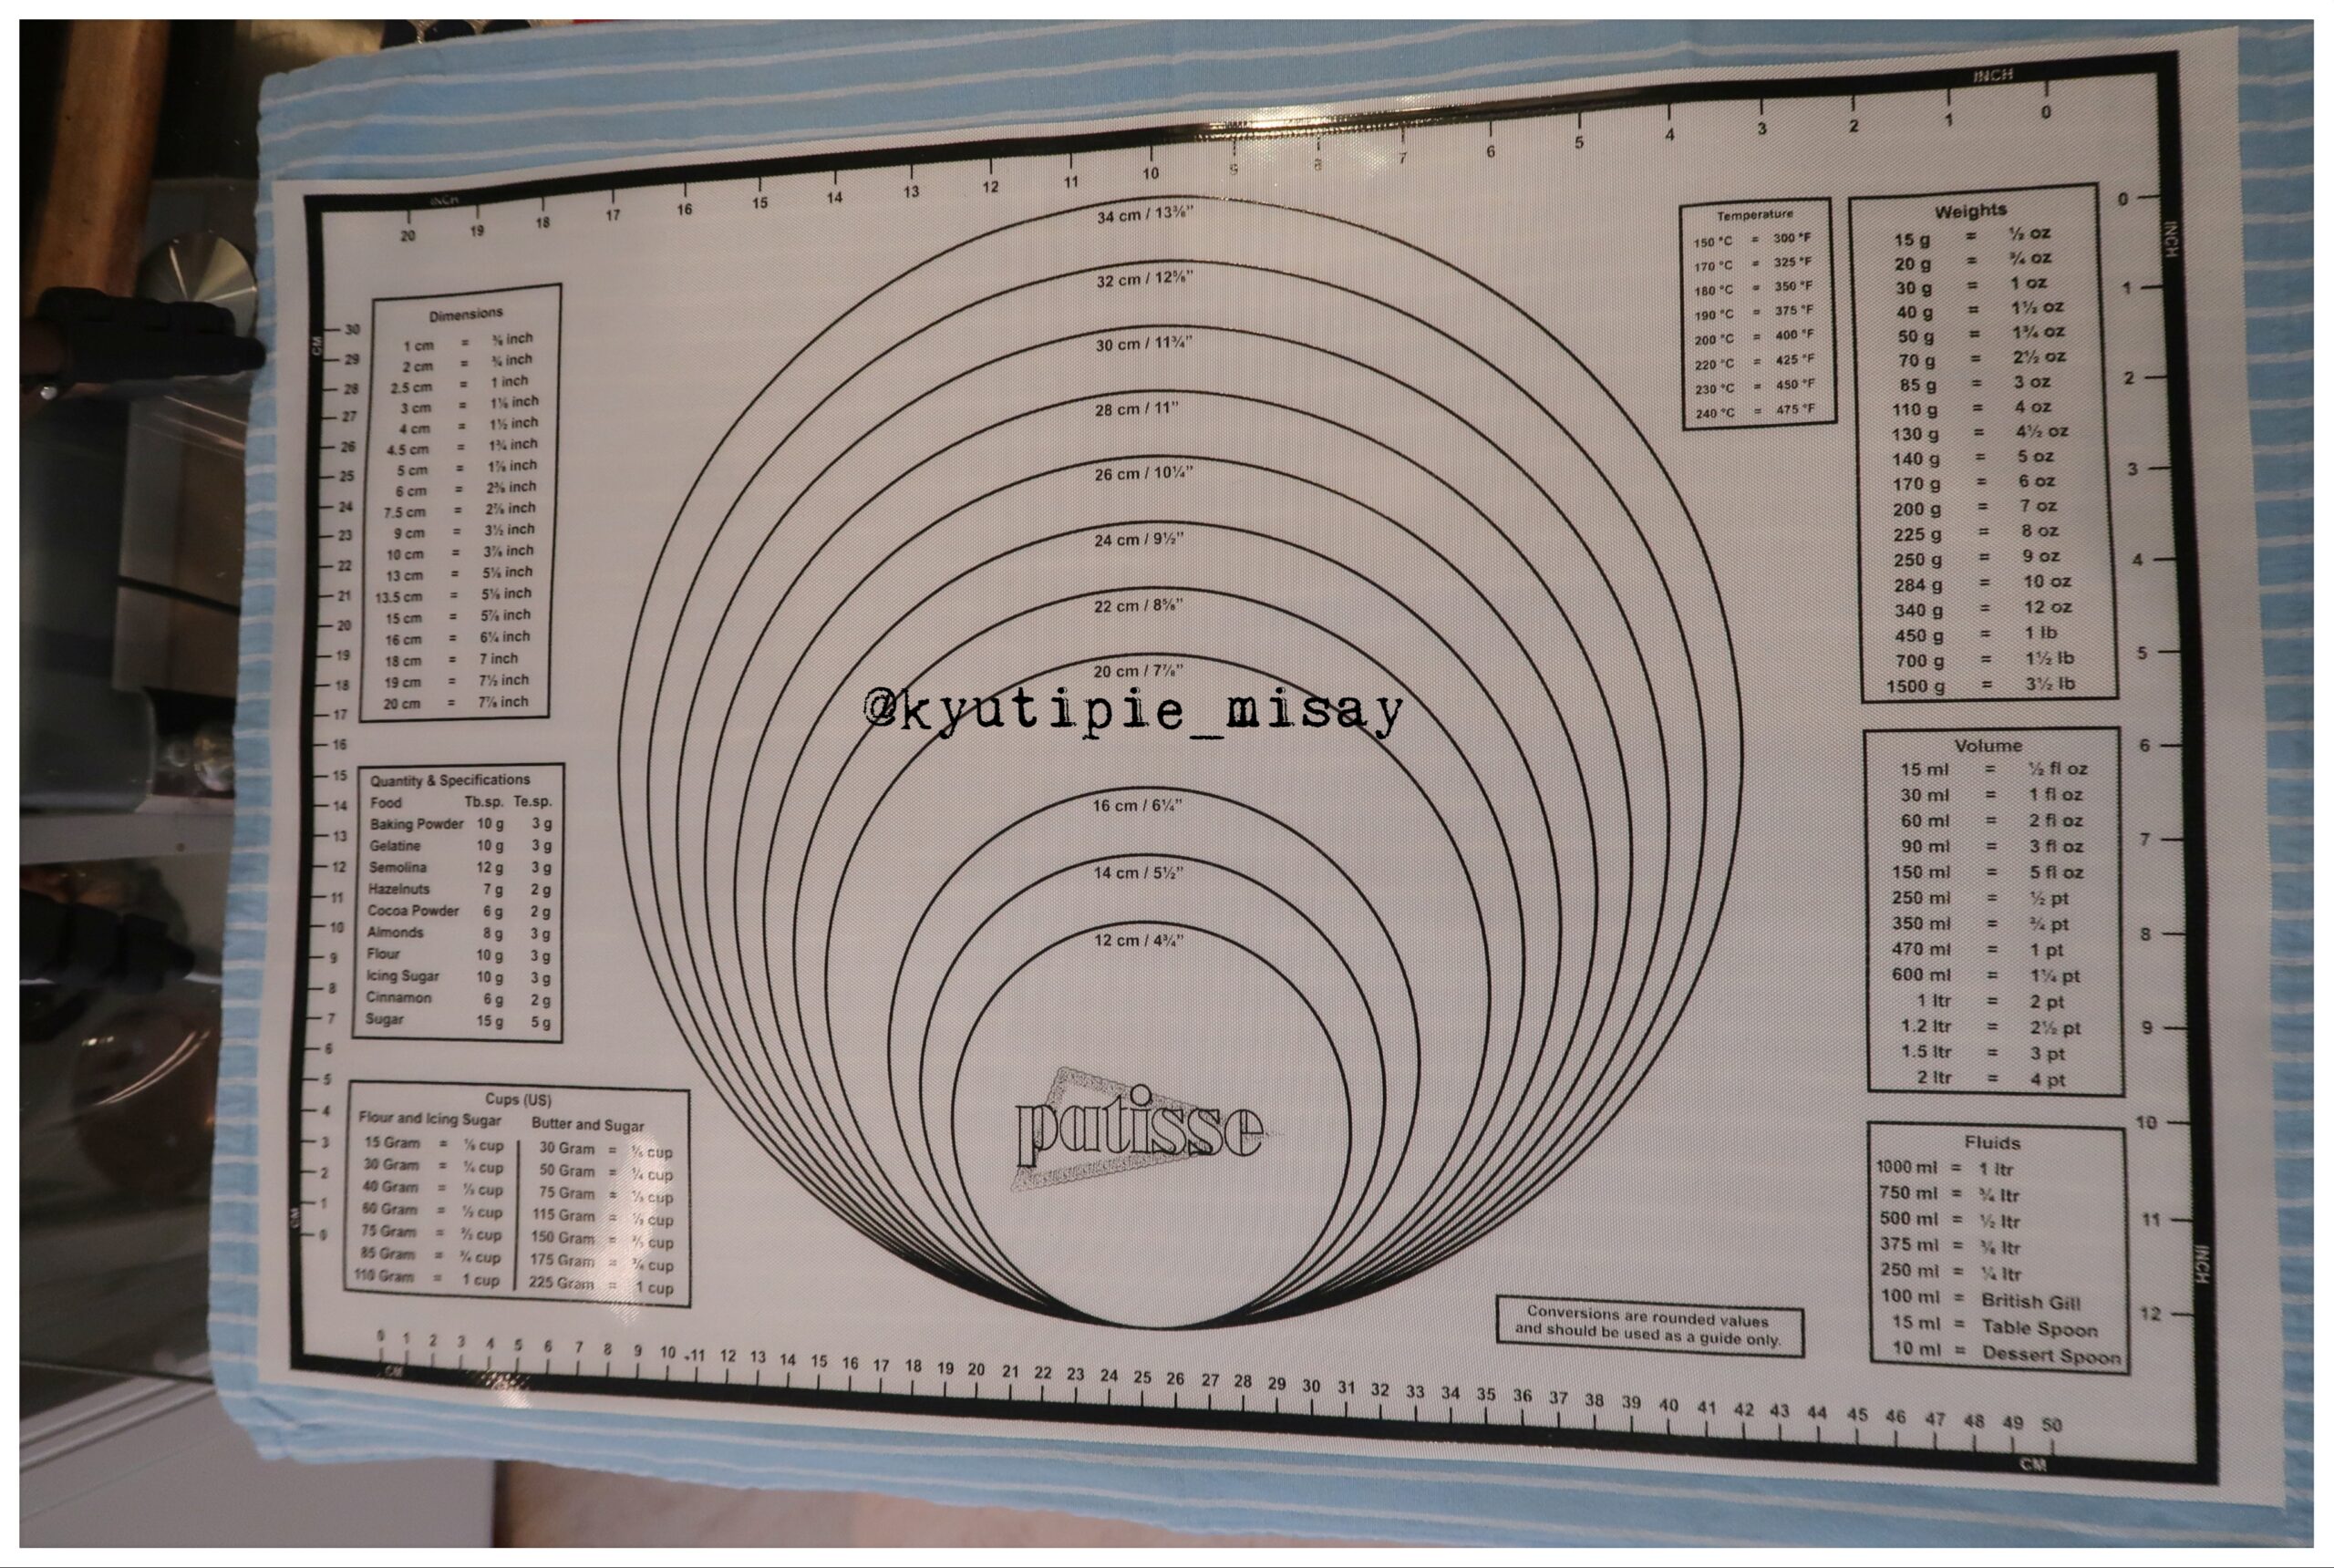
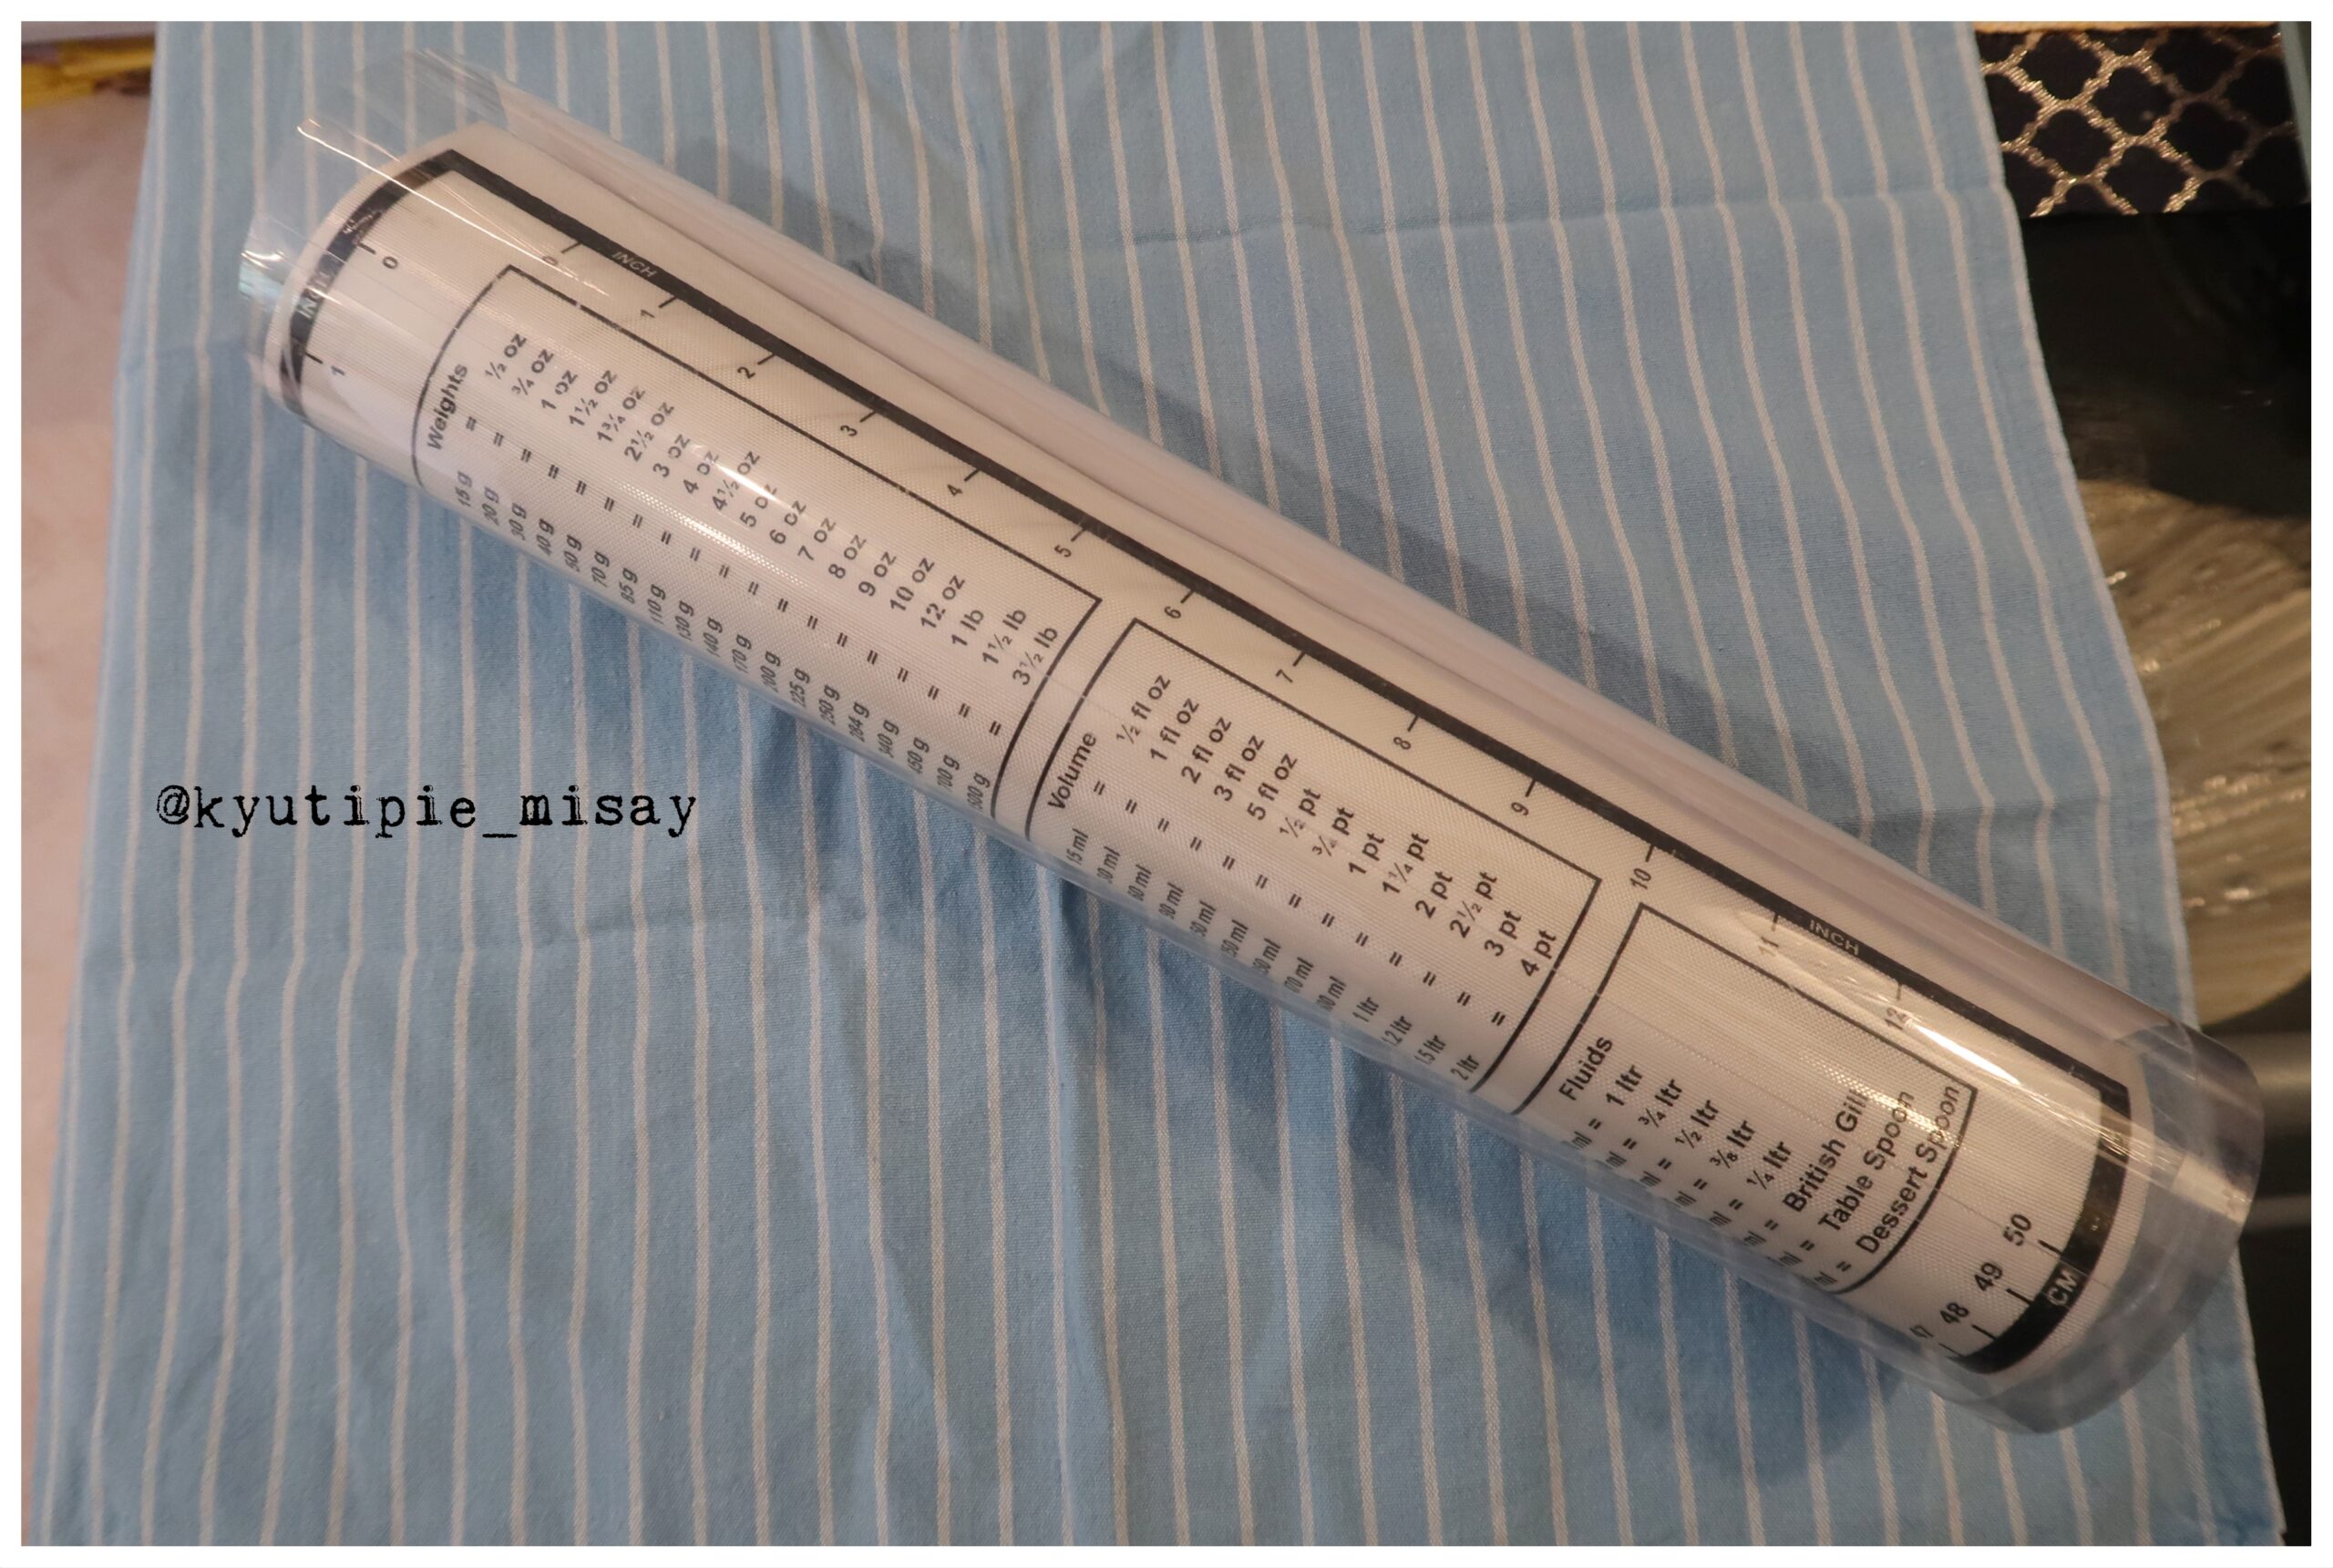
​🍩​ The second item that I got is this silicon pastry mat. Silicon mat is excellent nonstick work surface especially for making bread, cookies and pizza dough. It is a convenient surface for you to roll and cut your dough instead of doing it on your countertop I highly recommend it. The dough will slide and turn and roll easily with this silicon mat. I also like that the bottom of the mat is not coated so it does not slip around on your counter or table.

A rolling mat / baking mat with the dimensions 60 x 40 cm from Patisse made of silicone. The baking mat is used to easily roll out sugar paste, marzipan or cake batter and it has different sizes and dimensions drawn on it so you easily know how much you need to roll. Size: 60 x 40 cm. It withstands oven and dishwasher that temperatures between -60 ° C to + 230 ° C.
Check this link if you want to buy the same silicon mat :πŸ‘‡

https://www.lyckasmedmat.se/kavelmattor

https://www.lazada.com.ph/SiliconMat

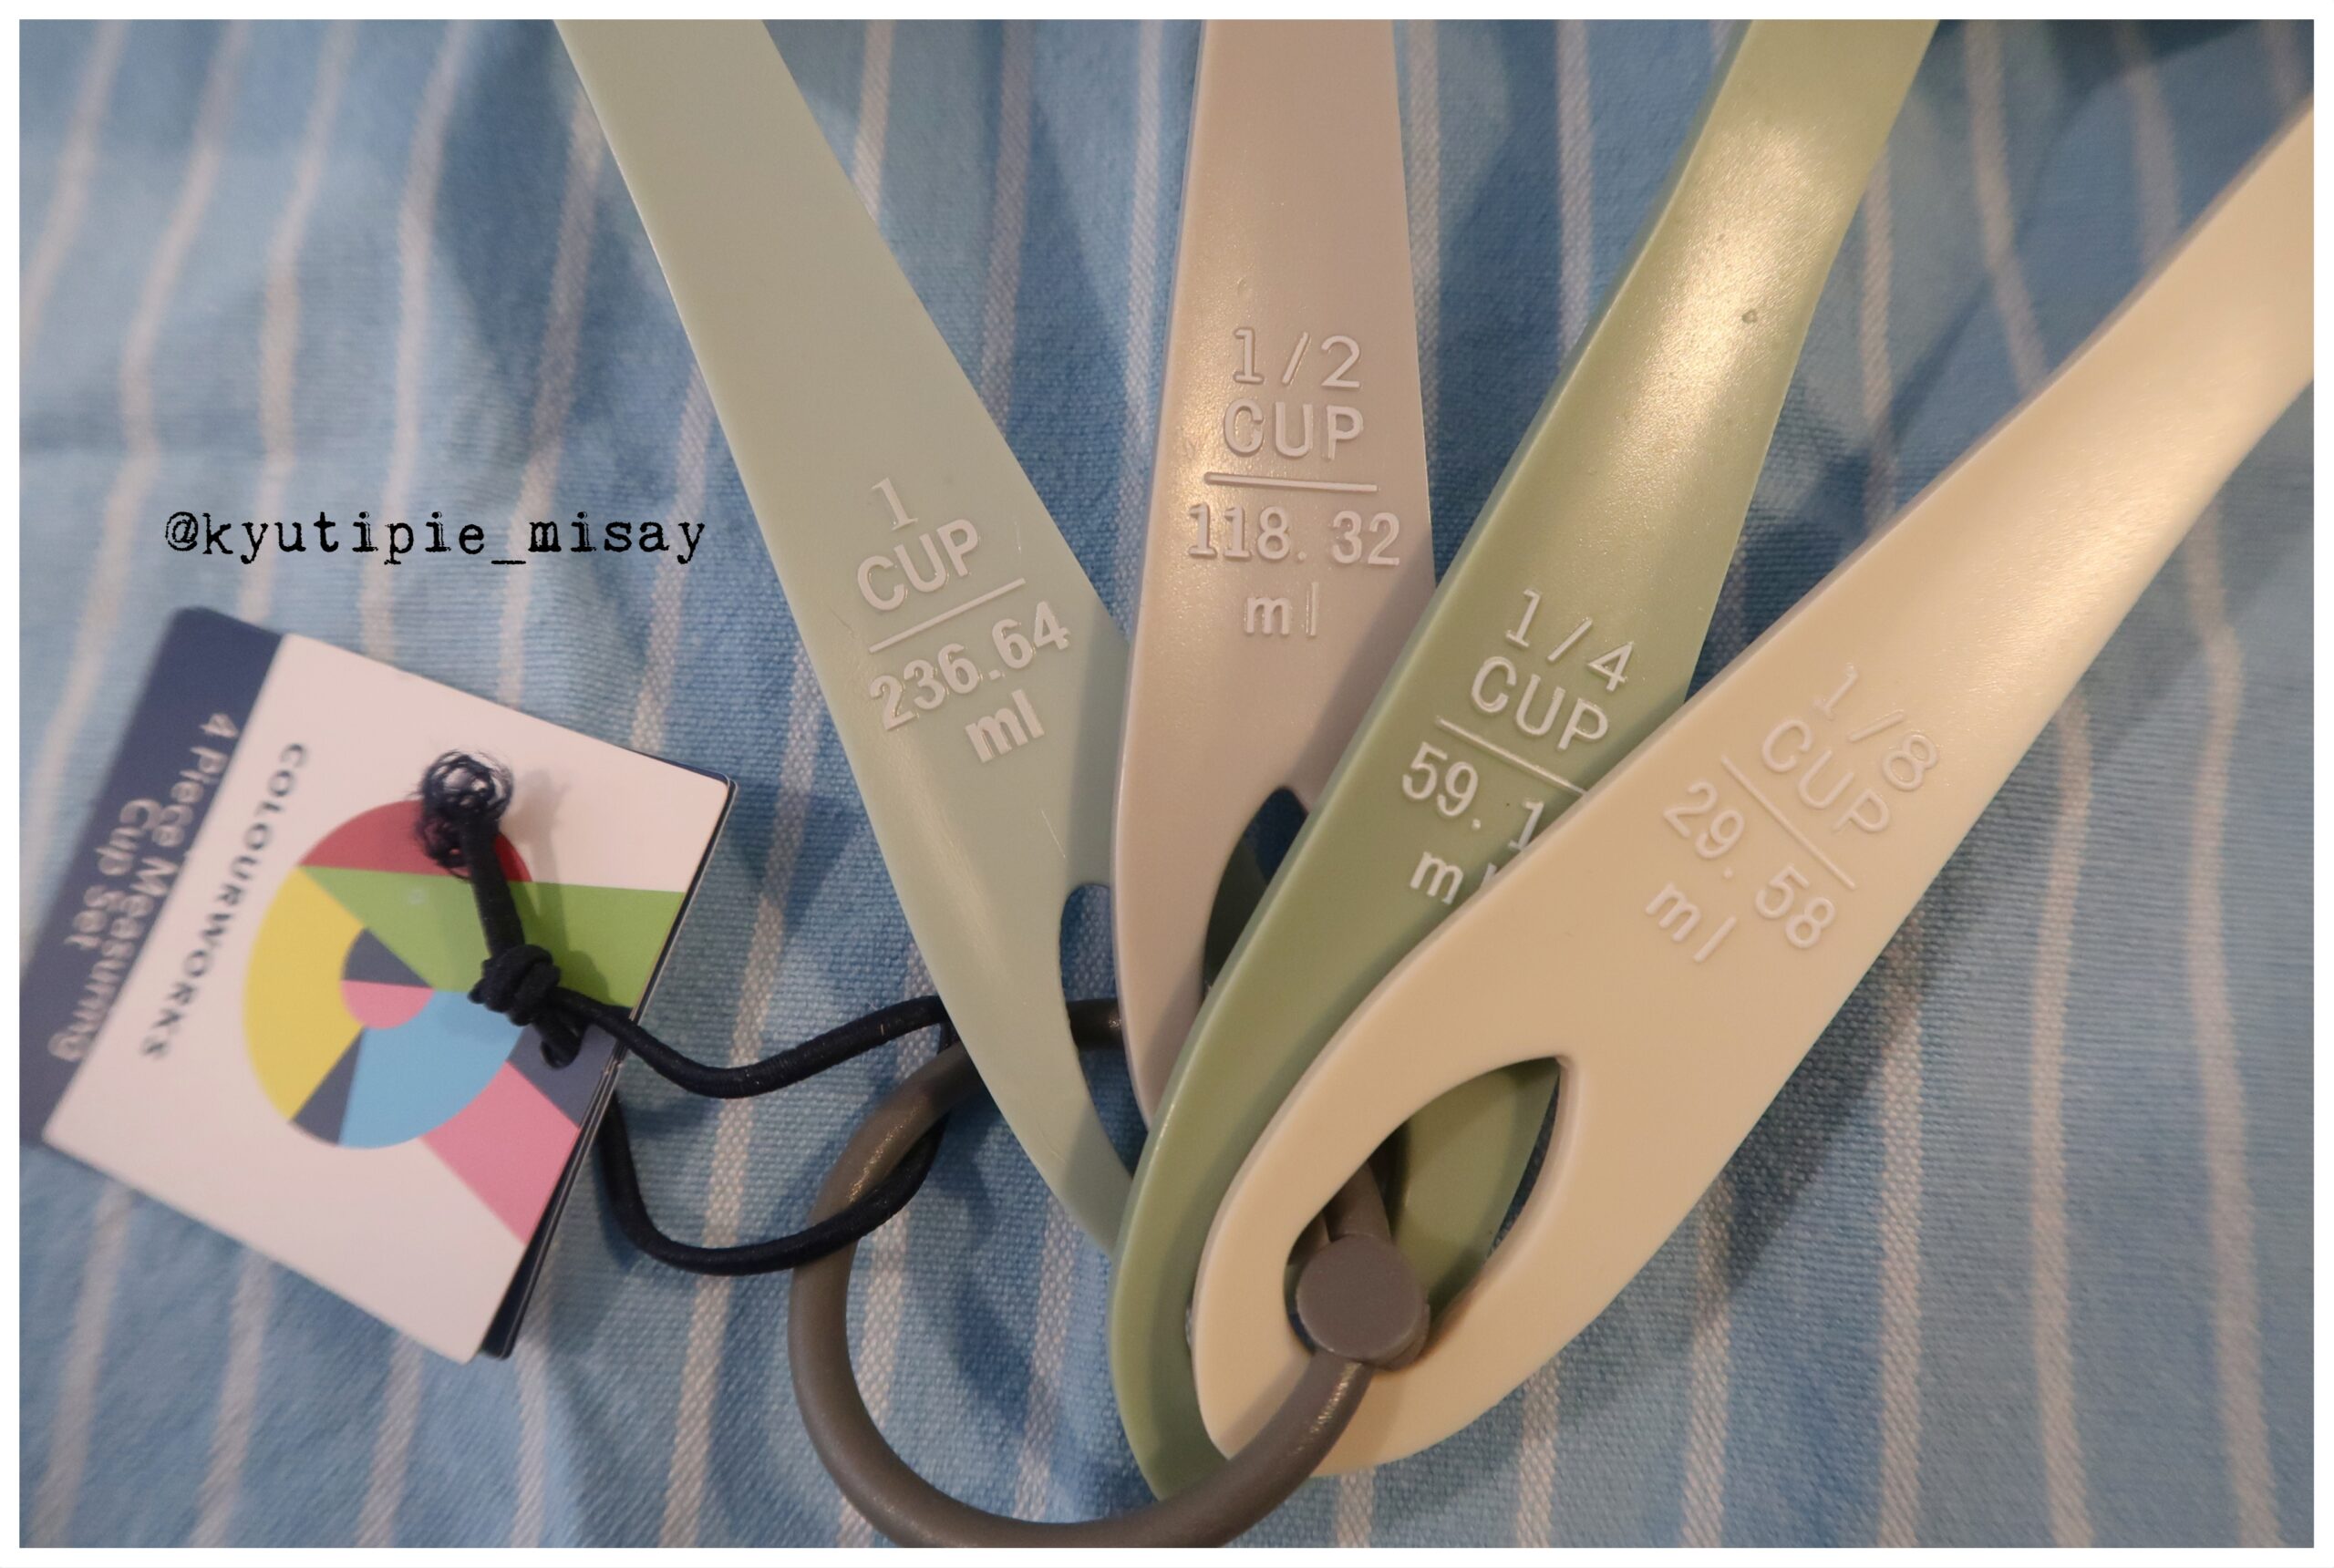
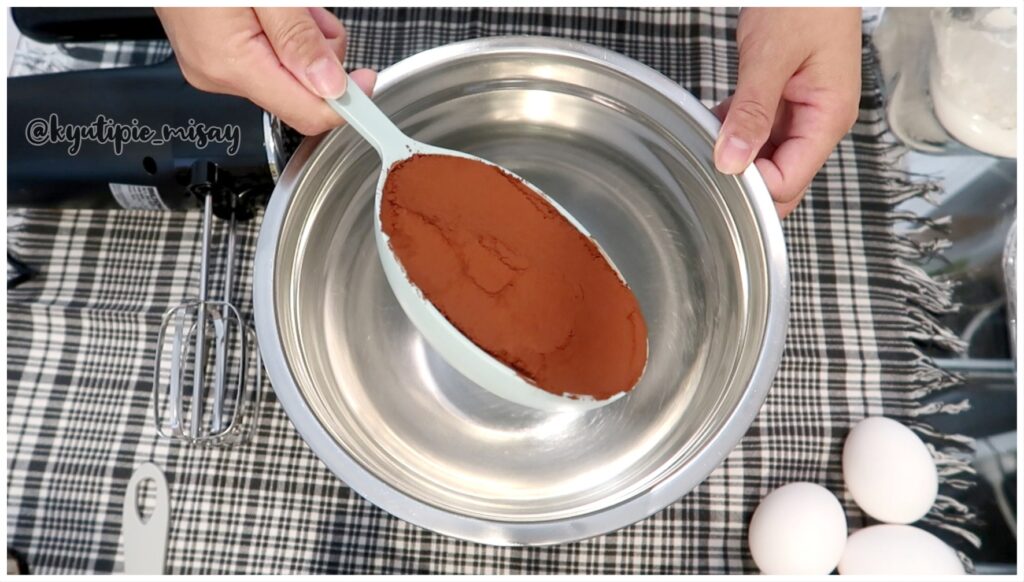
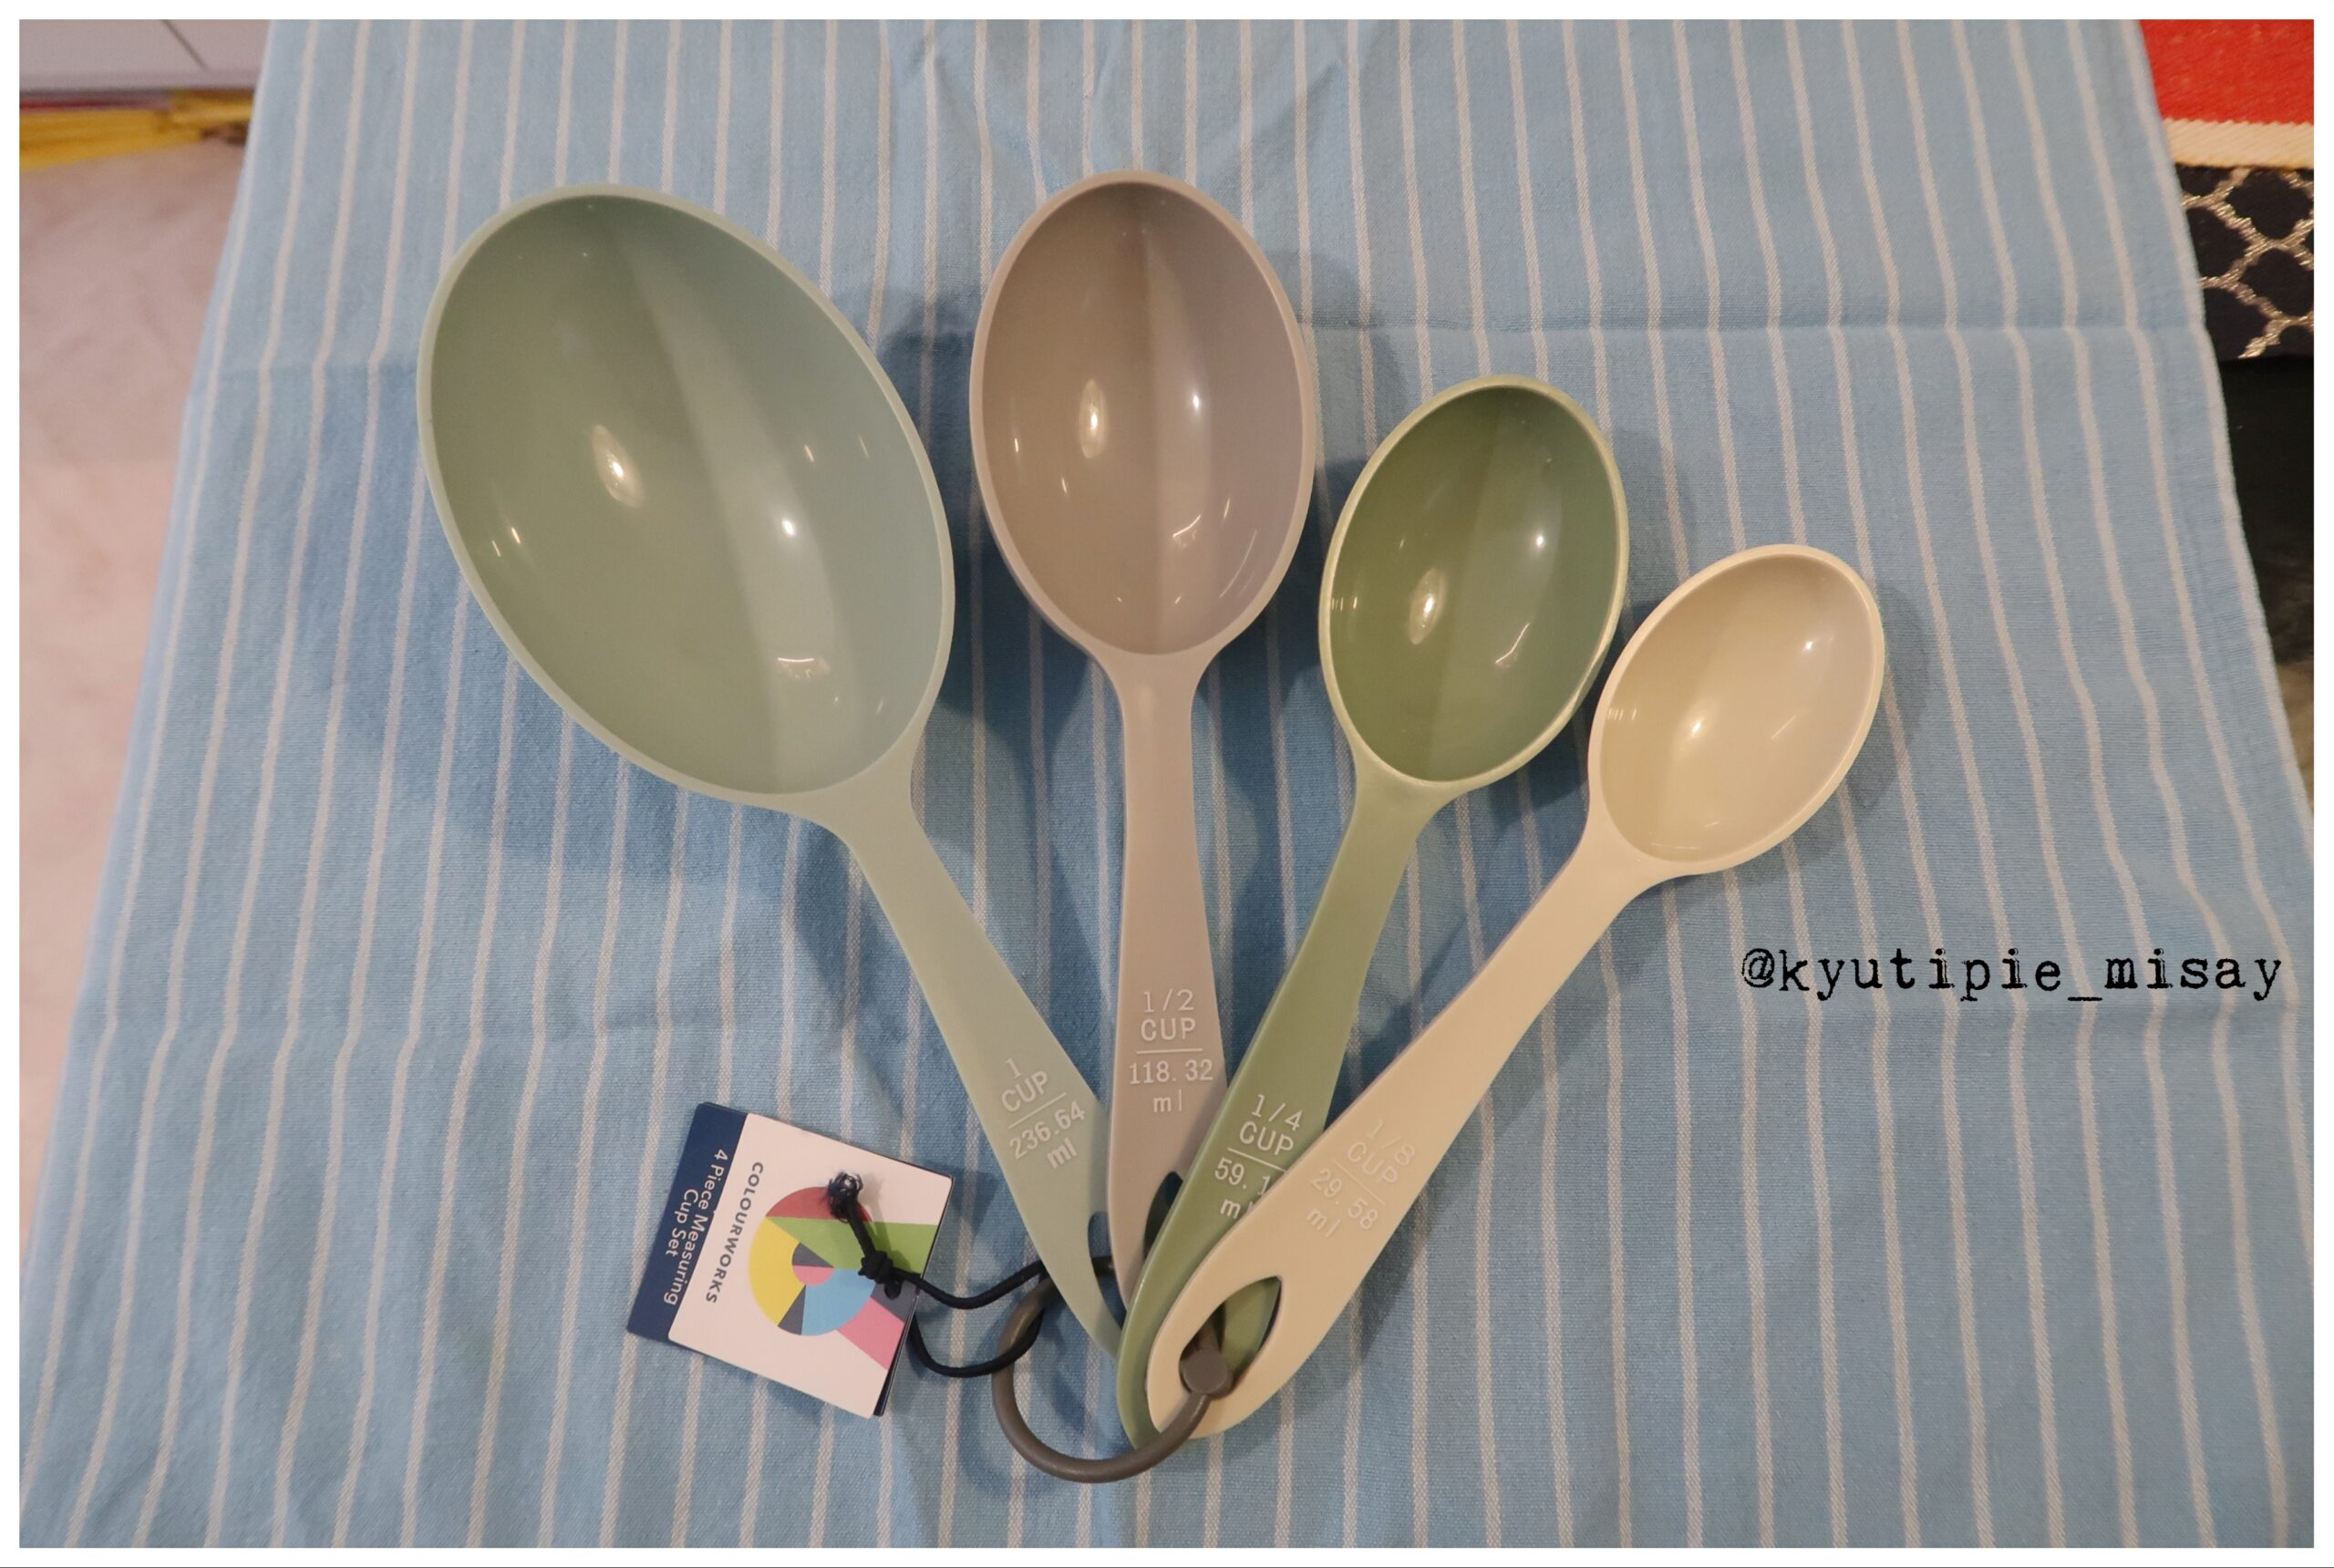
🍩. The third one is this kitchen Craft American measuring cups. This measuring cups has four different measures; 1/8 cup, 1/4 cup, 1/2 cup and 1 cup. Each measure also has dimension indications in ml which is really helpful in getting the exact measurements of the ingredients. I love the color too! it makes my baking experience so easy that I do not have to convert from American to Swedish measurement at all πŸ˜‚. The cups is made of melamine and can be washed in the dish machine.
Check this link if you want to buy the same American Measuring cups :πŸ‘‡

https://www.lyckasmedmat.se/Measuringcups

https://www.lazada.com.ph/Measuringcups

​🍩​ I also got this round dough scraper (116x78 mm). With this round dough scraper, you can easily cut and shape your dough to get perfectly shaped buns and buns every time. Makes it much easier to get the dough out of the bowl and to form soft bread dough. Super happy with this purchase!
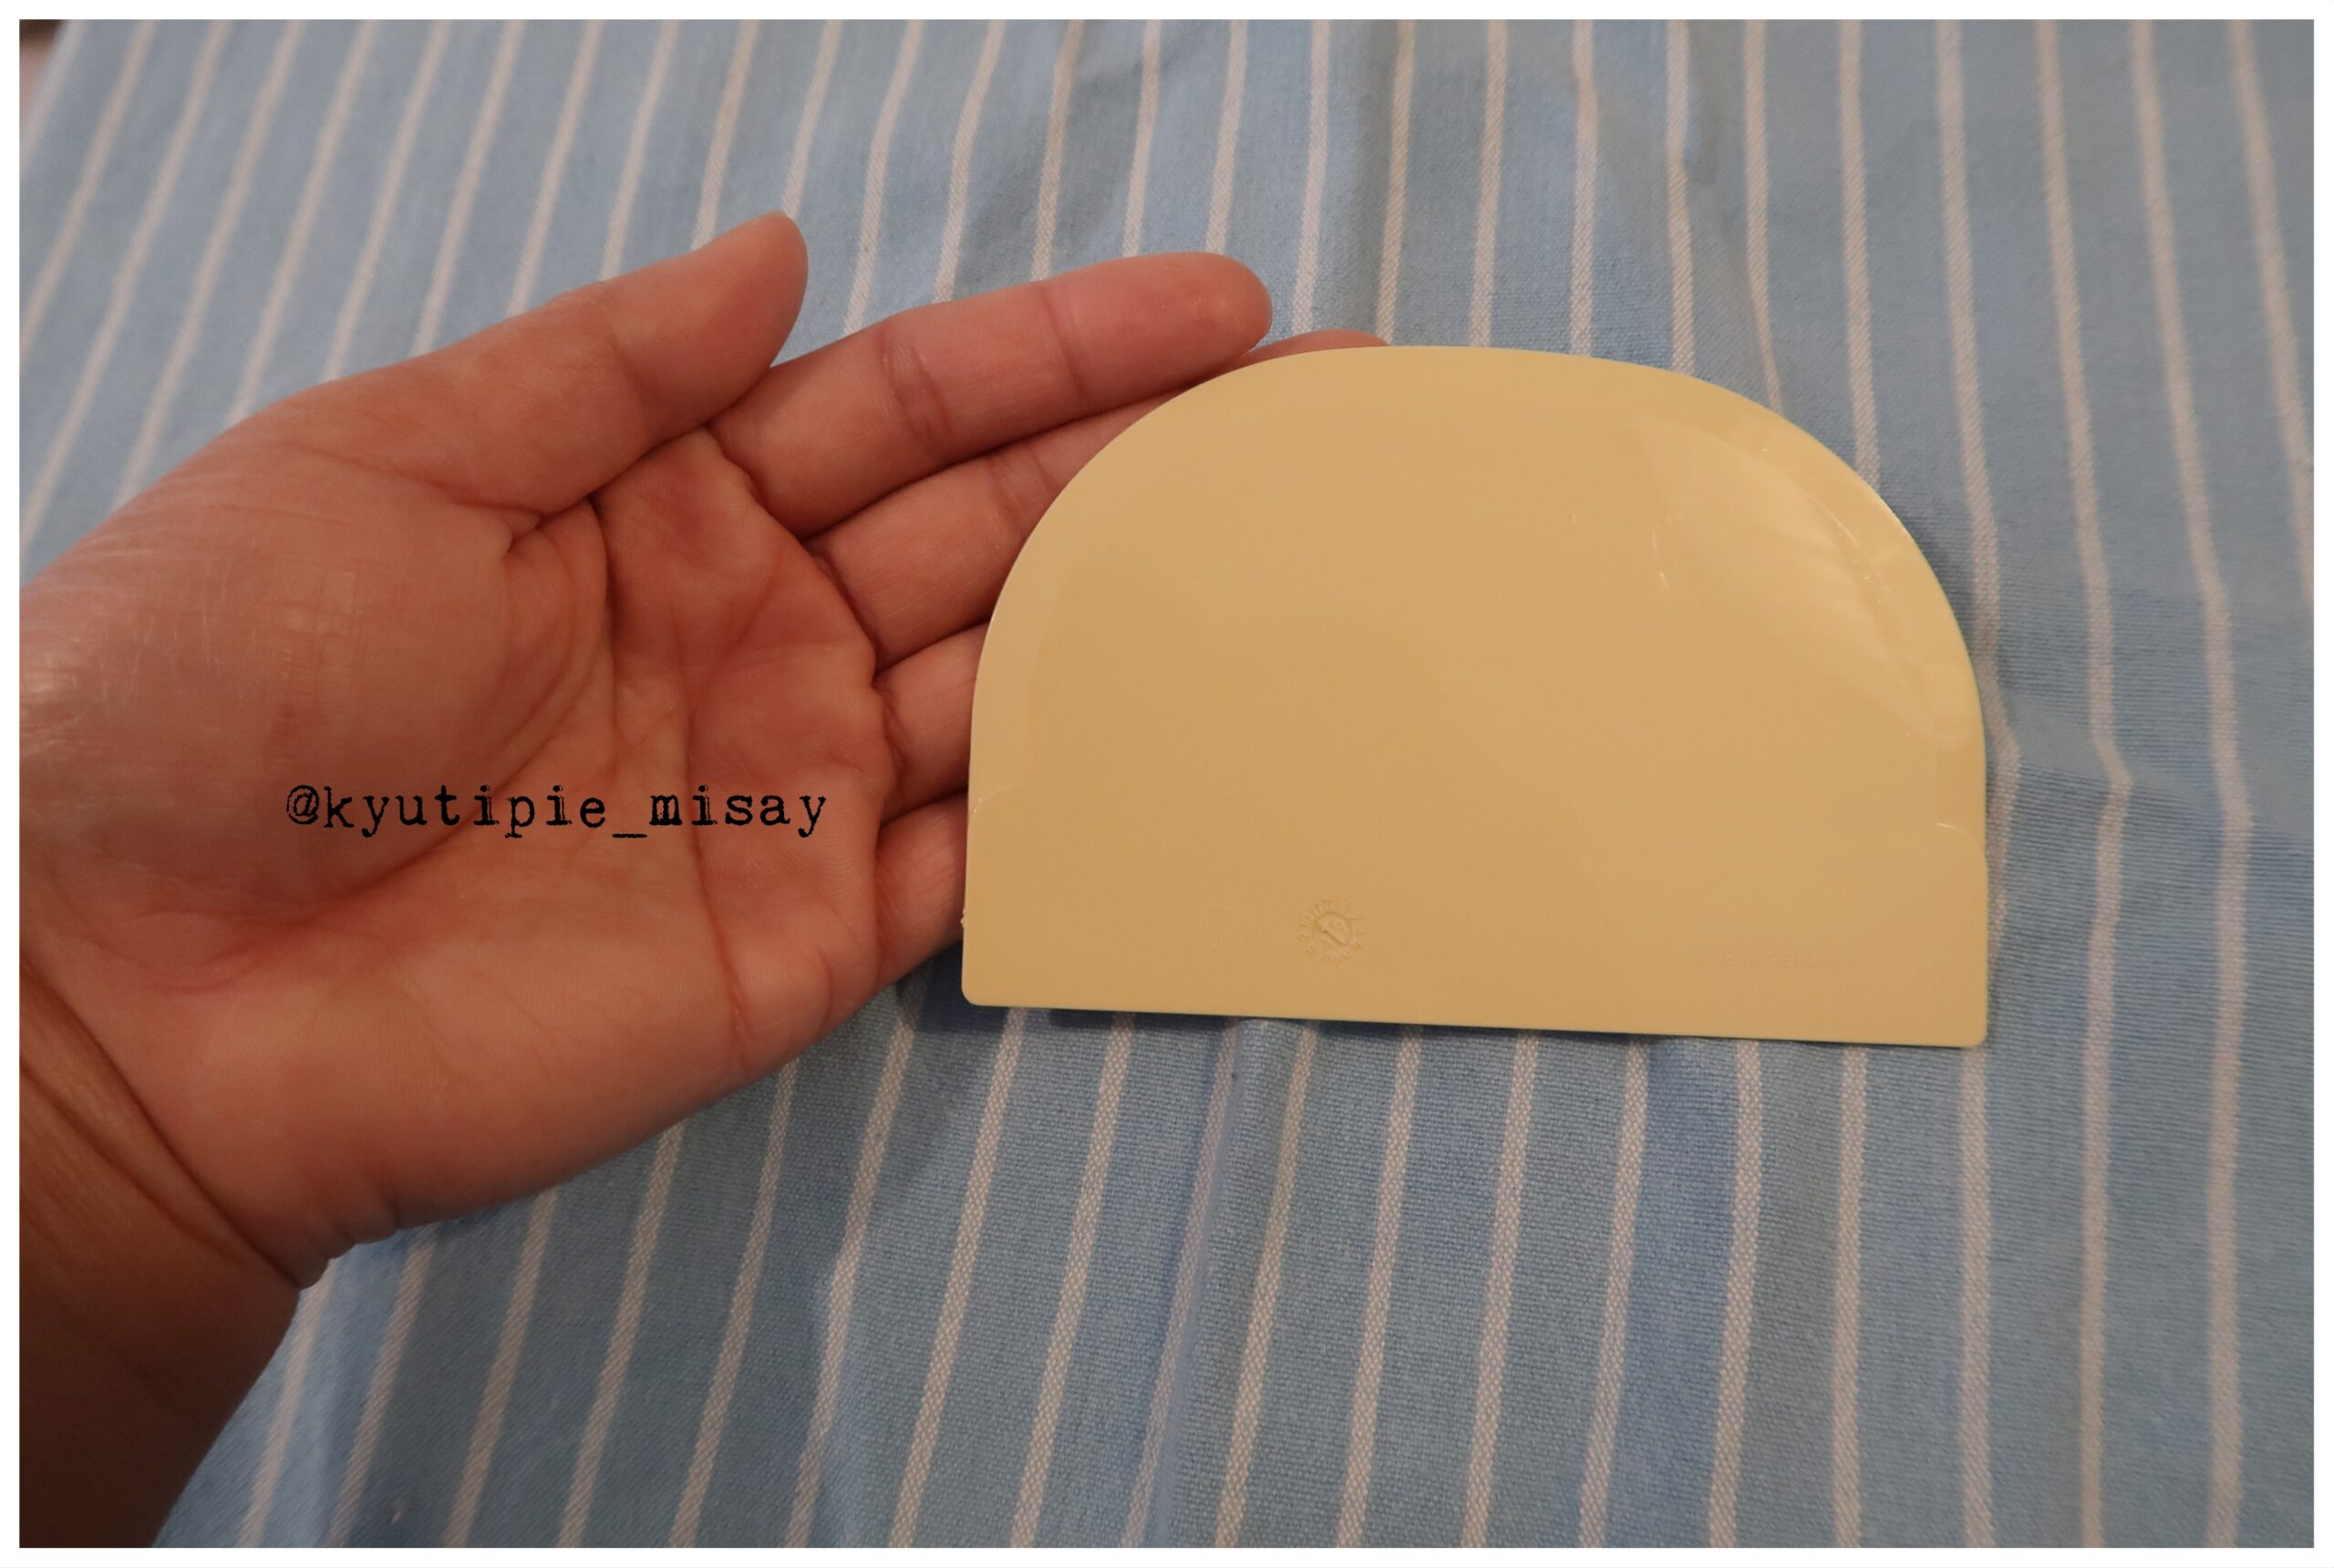
Check this link if you want to buy the same Dough Scraper :πŸ‘‡

https://www.lyckasmedmat.se/DoughScraper

https://www.lazada.com.ph/DoughScraper

🍩​ I also got this Scrap cooking angled spatula in the size 29 cm.  This stainless steel spatula from Scrap Cooking works perfectly for working with chocolate or spreading frosting over desserts and cakes. The only downside of this spatula  is it not a dish machine friendly so you'll have to wash it by hand other than that for the price of 85 kr is not that bad.
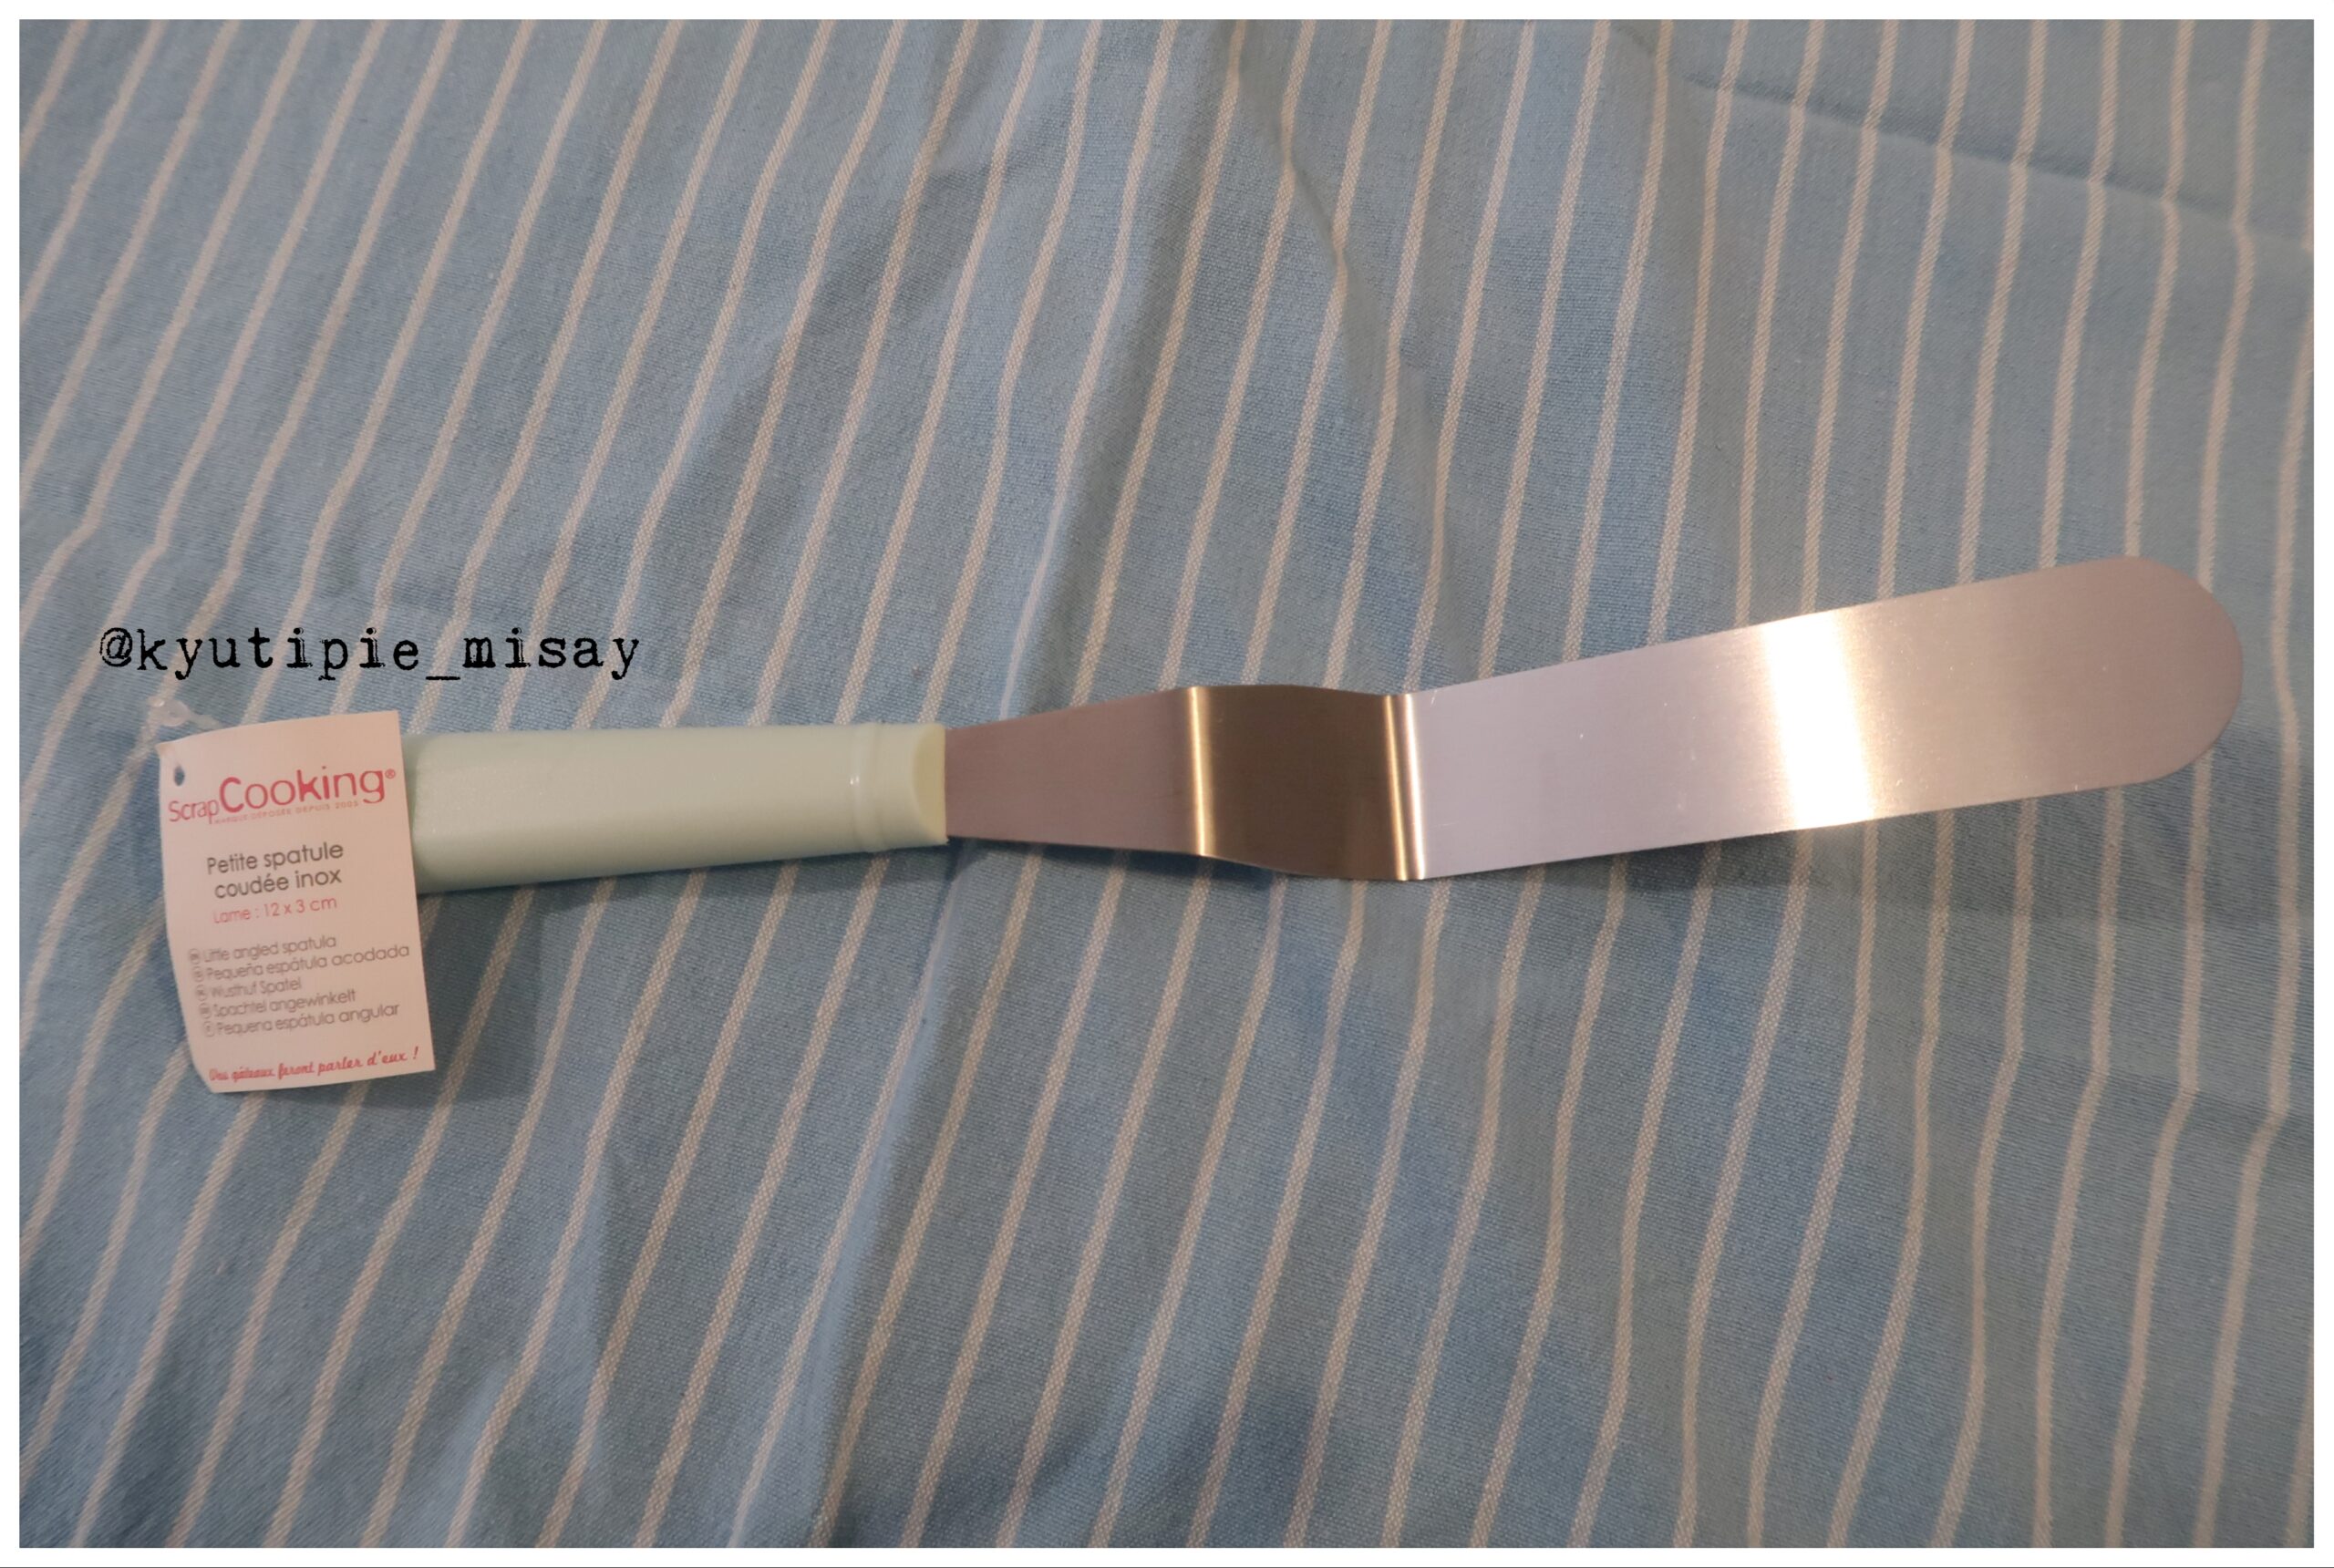
Check this link if you want to buy the same Scrap angled spatula :πŸ‘‡

https://www.lyckasmedmat.se/Spatula

https://www.lazada.com.ph/StainlessSpatula

DISCLAIMER: This post contains affiliate links, which means I may receive a small commission for clicks and purchases made. Items were purchase with my own money unless otherwise stated. All products listed are items I have and/or love and all opinions are my own

PLease leave comment down below. I would be happy to read it all ..πŸ’œπŸ’‹

Would you like to shout me a cup of coffee ☕️ 

🍭I have made a Patreon account:

Monday, July 19, 2021

SATISFYING PLAQUE-TARTAR REMOVAL | REACTION


[WATCHinHD] Hello Superfriends! I'm back sa balakubak! SATISFYING TARTAR REMOVAL another reaction video today!. Sabay sabay tayo mamangha at ma-satisfy na maalis ang mga ginto sa ngipin. BEWARE kung ayaw mo ng mga ganitong video, marami pa namn akong ibang video na pwede nyo panoorin hahahaha. o ano na! Tara nood na! 

 ☀ Want to check my YOUTUBE WORST LIFE HACKS EVER! πŸ‘‡ 
 
☀ Want to check my SATISFYING INGROWN TOENAIL REMOVAL VIDEO πŸ‘‡ https://www.youtube.com/watch?v=qyGEvbX34fo&t=2s 

 ☀ Want to check my PIMPLE REACTION VIDEO πŸ‘‡ 

 ☀ Want to check my SATISFYING BOTFLY REMOVAL VIDEO πŸ‘‡ https://www.youtube.com/watch?v=ecG_quu-kL4&t=481s 

 Would you like to shout me a cup of coffee ☕️ 
 https://www.buymeacoffee.com/kyutipieMisay 

 #SatisfyingTartarRemoval #tagalogReactionVideo #tartar #plaque 

 Would you like to shout me a cup of coffee ☕️ 

 πŸ­I have made a Patreon account:


 DISCLAIMER: Items were purchase with my own money unless otherwise stated. All opinions are honest and my own!

I hope you all enjoyed watching my video and if you did please don't forget to tap my back with BIG like πŸ‘ and subscribe if you haven't yet ;)

PLease leave comment down below. I would be happy to read it all ..πŸ’œπŸ’‹


Thursday, July 15, 2021

SATISFYING BOTFLY REMOVAL | TAGALOG REACTION


Hello Superfriends! I'm back sa balakubak! Another reaction video tayo. Sabay sabay tayo mapangiwi at mailing sa pagtanggal ng mga parasite worm sa katawan.. BEWARE dahil nakakadiri sxa talga hahahaha. Tara nood na! Katuwaan lang sya at naenjoy ko rin ng bongga hahaha baka next time gagawa ulit ako ng ganito. I hope na magustuhan nyo rin ang video na ito and don't forget to tap my back with a like (y)! And salamat po πŸ™‚ 
Thank you so much for watching!! πŸ˜‡❤️ 

 ☀ Want to check my YOUTUBE WORST LIFE HACKS EVER! πŸ‘‡ 

 ☀ Want to check my SATISFYING INGROWN TOENAIL REMOVAL VIDEO πŸ‘‡ https://www.youtube.com/watch?v=qyGEvbX34fo&t=2s 

 ☀ Want to check my PIMPLE REACTION VIDEO πŸ‘‡ 

#vlogNiMisay #tagalogVlog 

 Would you like to shout me a cup of coffee ☕️ 

 πŸ­I have made a Patreon account:


I hope you all enjoyed watching my video and if you did please don't forget to tap my back with BIG like πŸ‘ and subscribe if you haven't yet ;)

PLease leave comment down below. I would be happy to read it all ..πŸ’œπŸ’‹


Tuesday, July 13, 2021

SIMPOL CHOCOLATE CRINKLES | PANGBUSINESS


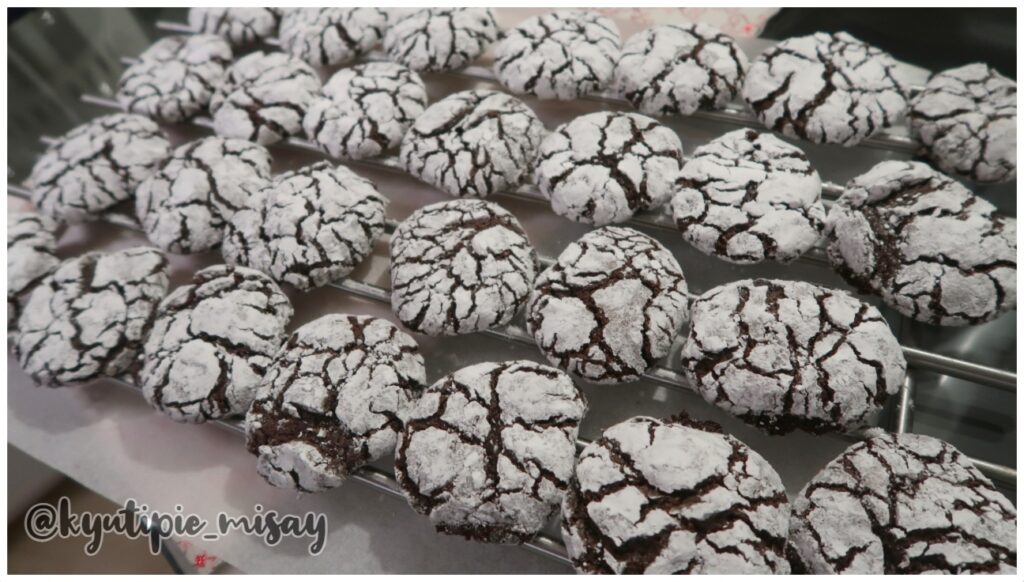
How to make the classic chocolate crinkles na pangbenta. This recipe yields 28 big crinkles or 30 small crinkles. 
 
πŸͺ Ingredients: 
  • 1 cup unsweetened cocoa powder 
  • 2 cups white sugar 
  • ½ cup vegetable oil 
  • 2 tsp powdered milk of your choice 
  • 4 eggs 
  • 2 teaspoons vanilla extract 
  • 2 cups all-purpose flour 
  • 2 teaspoons baking powder 
  • ½ teaspoon salt 
  • ½ cup confectioners' sugar 
 πŸͺ Bake in preheated oven 350 degrees F (175 degrees C) for 10 to 12 minutes.

πŸͺ INSTRUCTIONS:
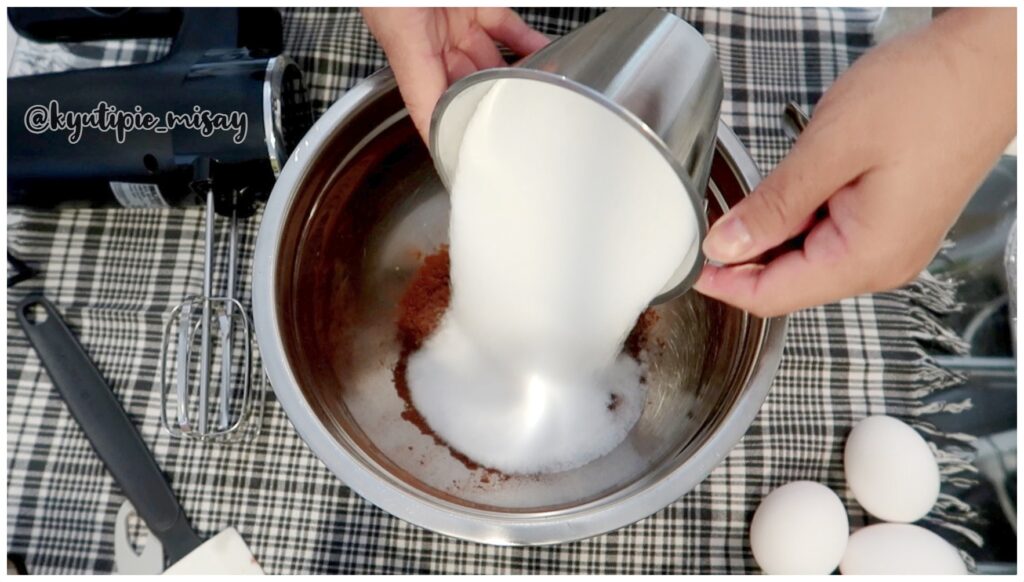
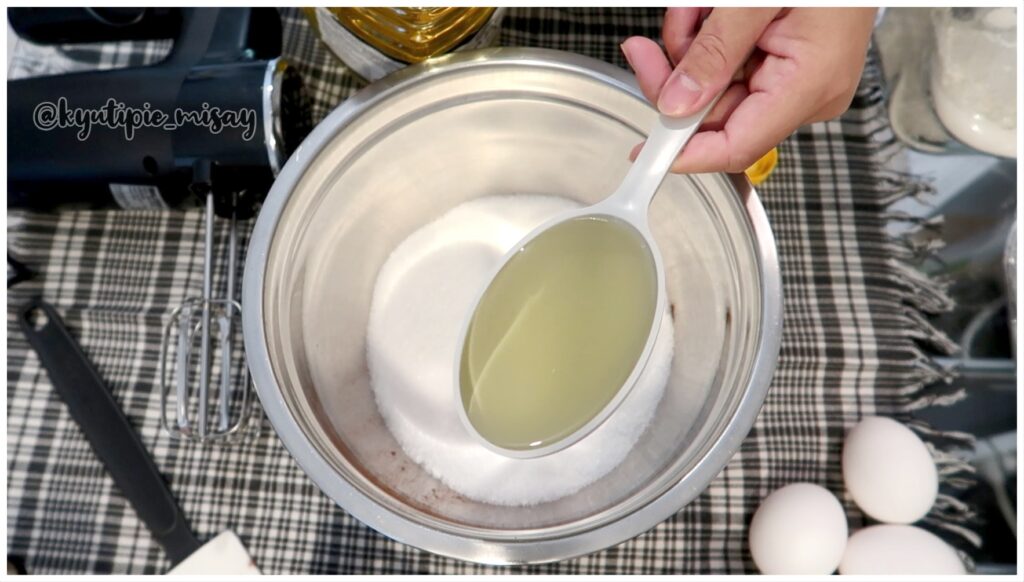
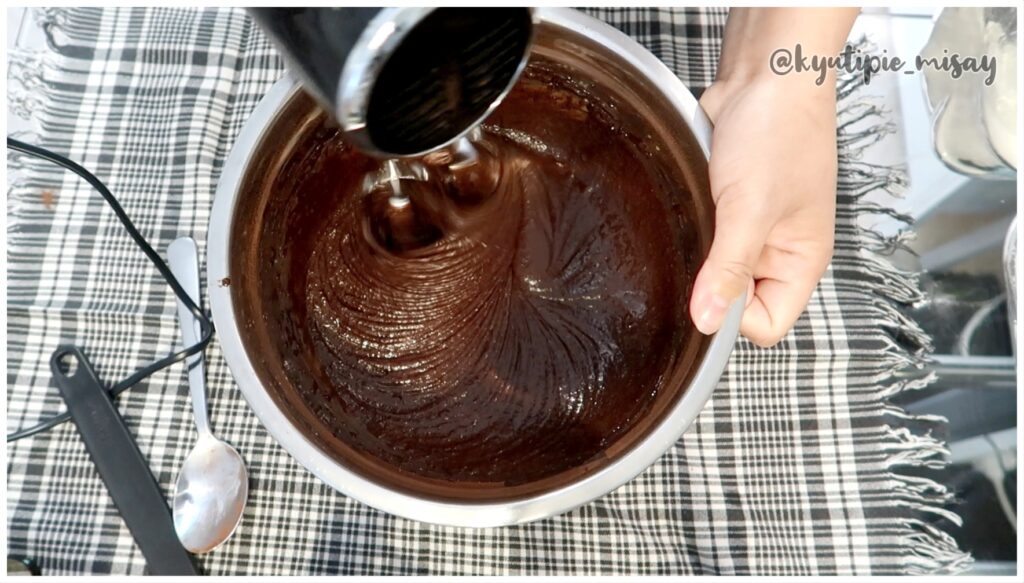
  • In a medium bowl, mix together wet ingredients cocoa, sugar, and vegetable oil.

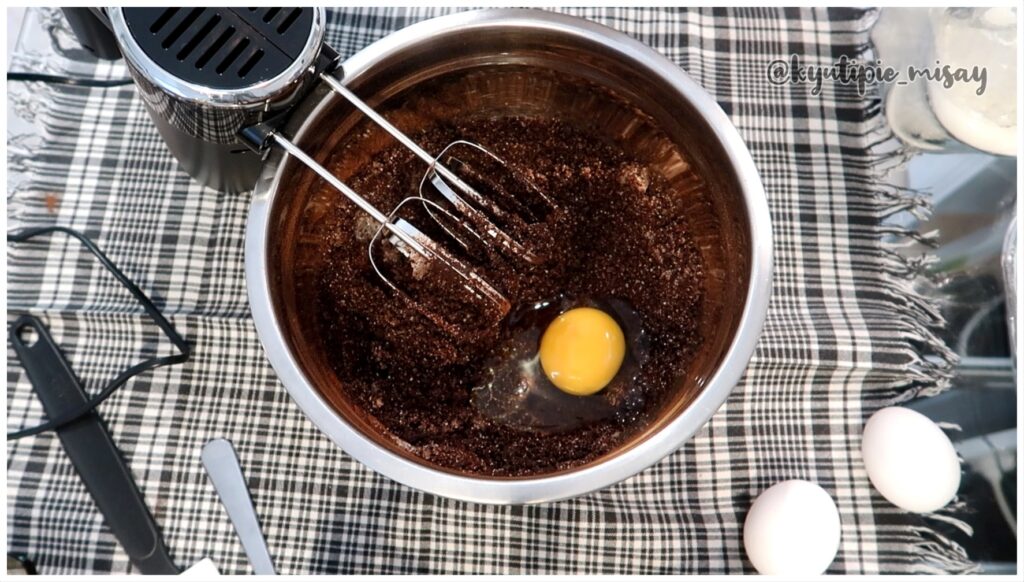
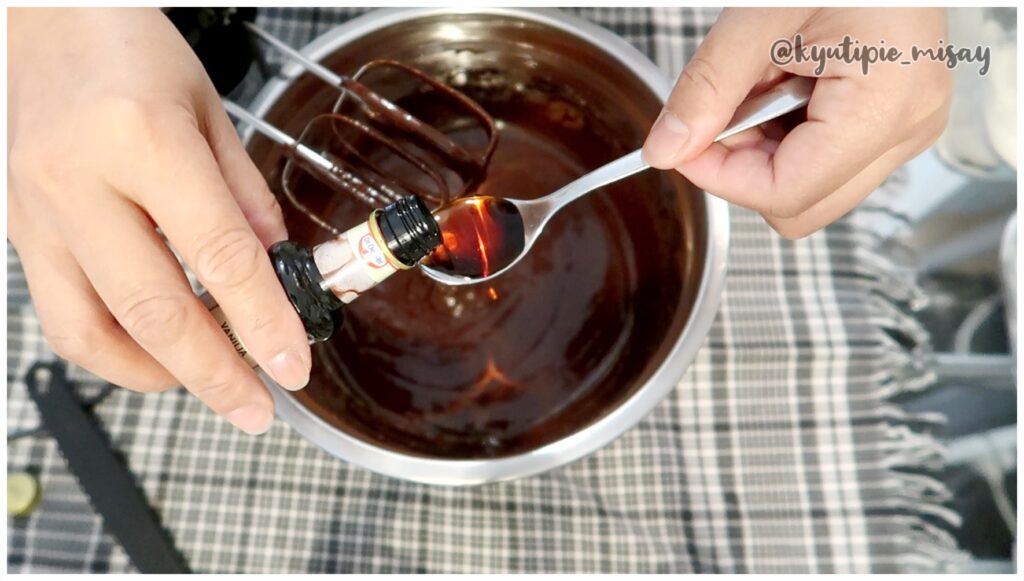
    Beat in 4 eggs one at a time, then stir in the 2 tsp. of vanilla.

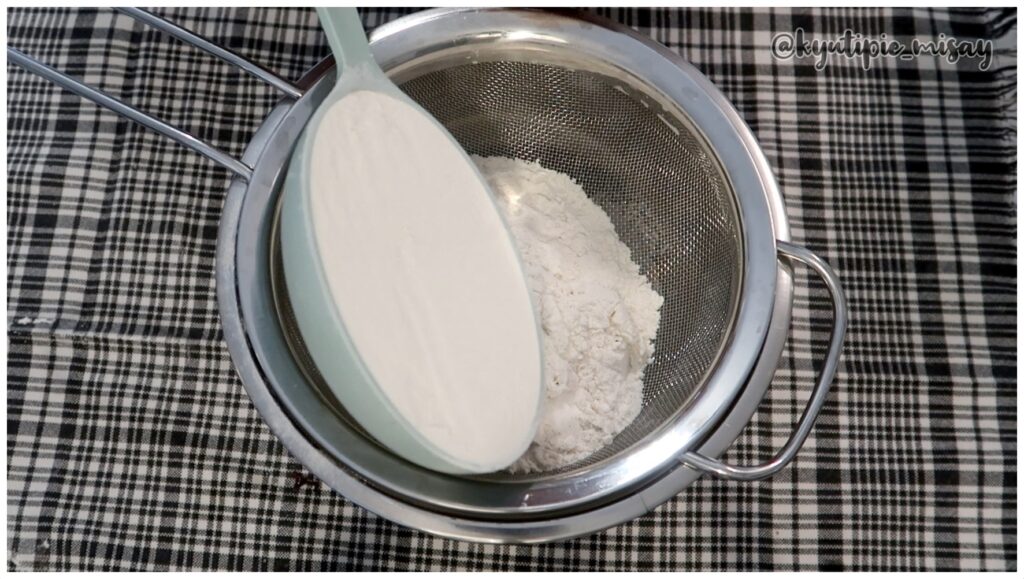
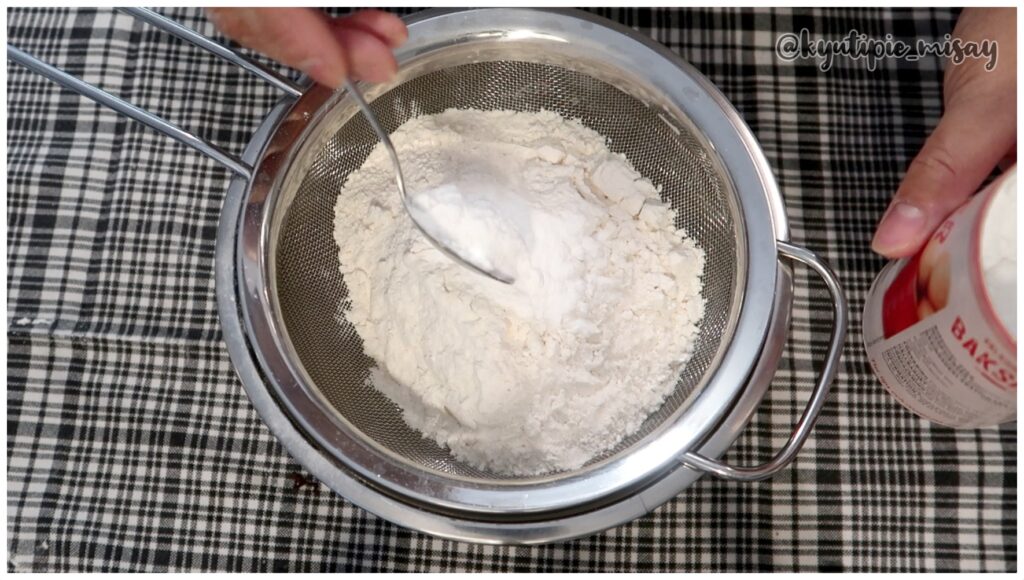
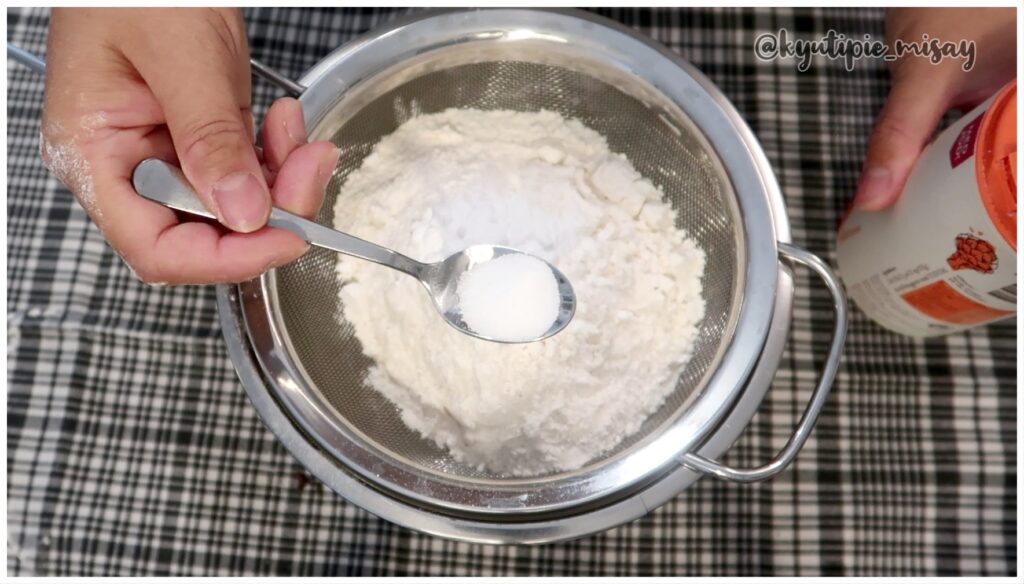
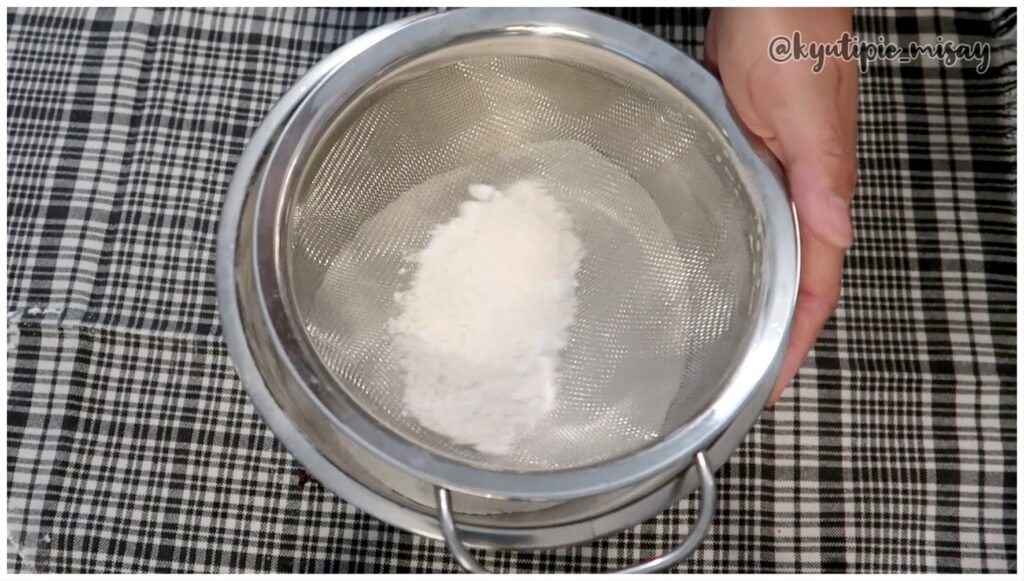
    In separate bowl sieve the dry ingredient flour, baking powder, and salt;

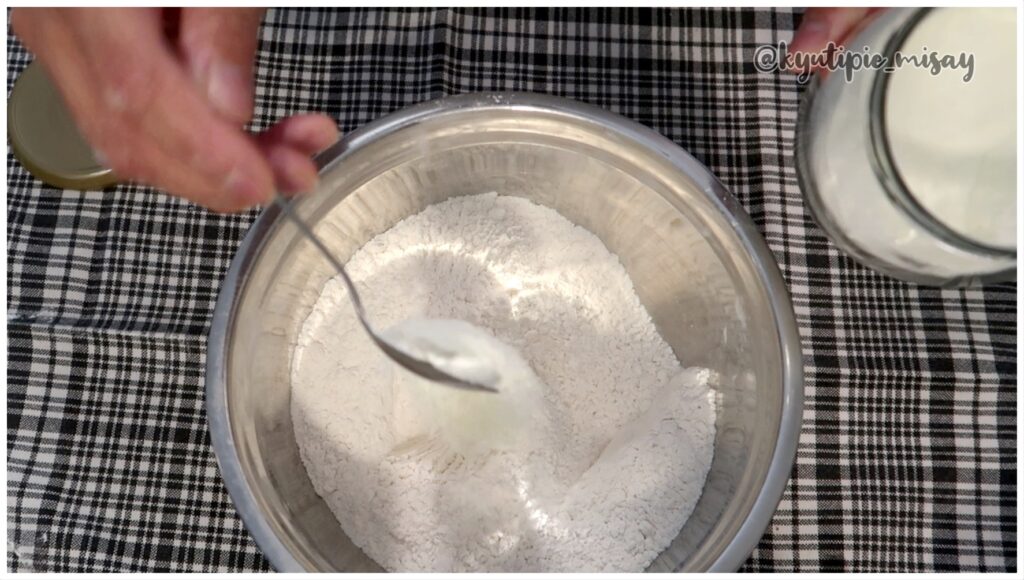
    Then add your 2 tsp. powdered milk of your choice.

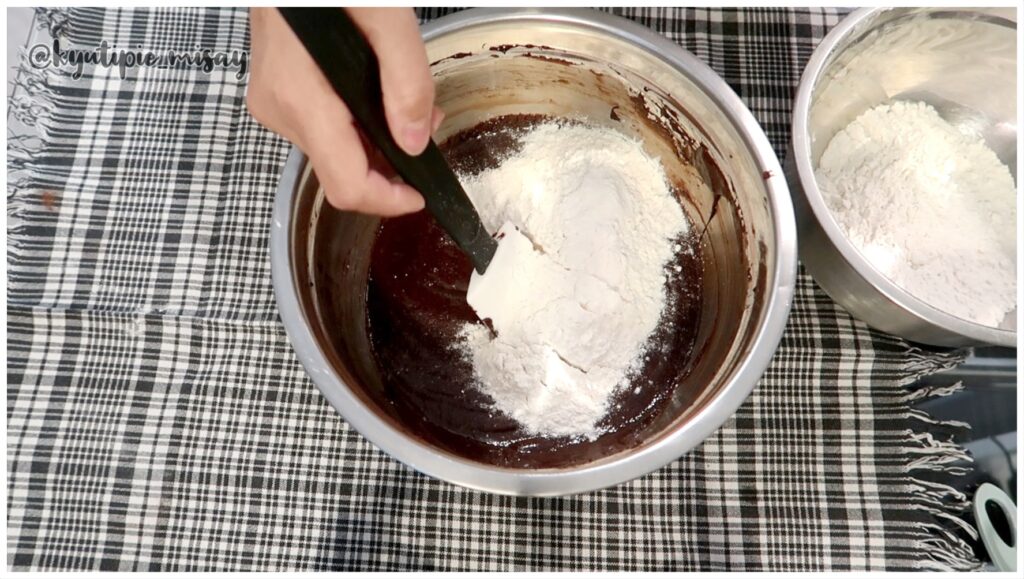
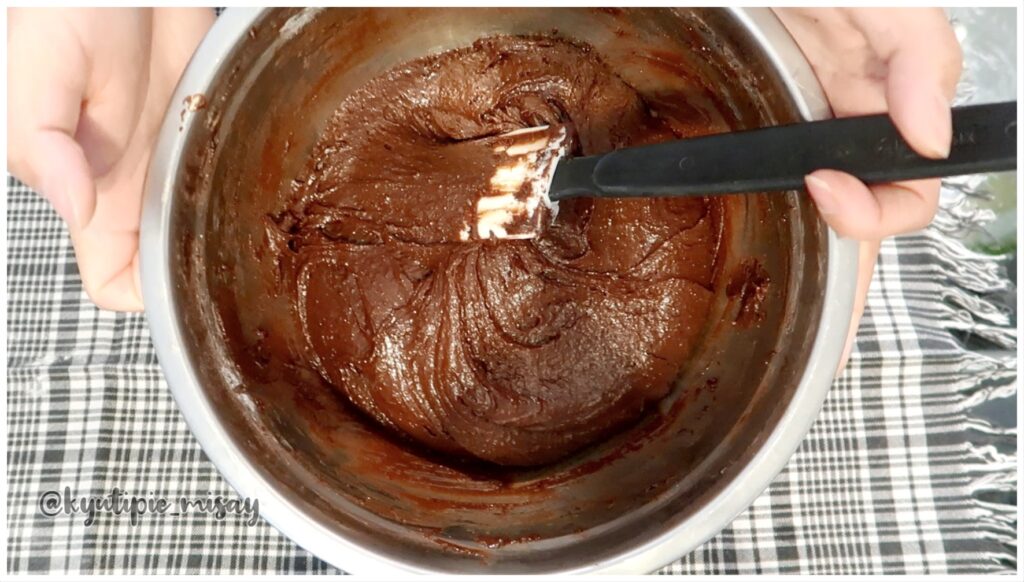
    Slowly mix the dry ingredients into the wet ingredients until combined. The cookie dough will be thick and sticky. 

    Cover dough, and chill for at least 4 hours.

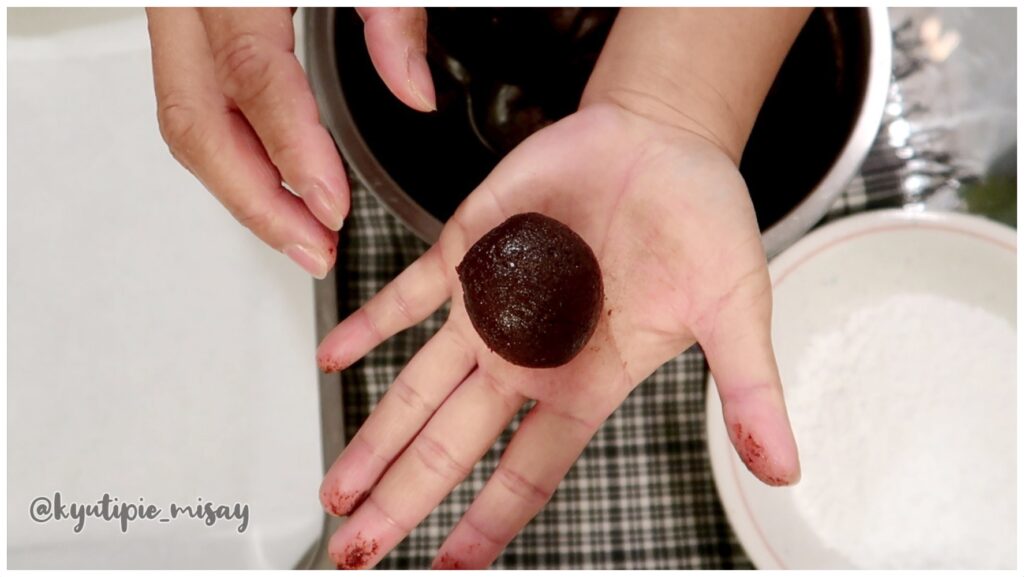
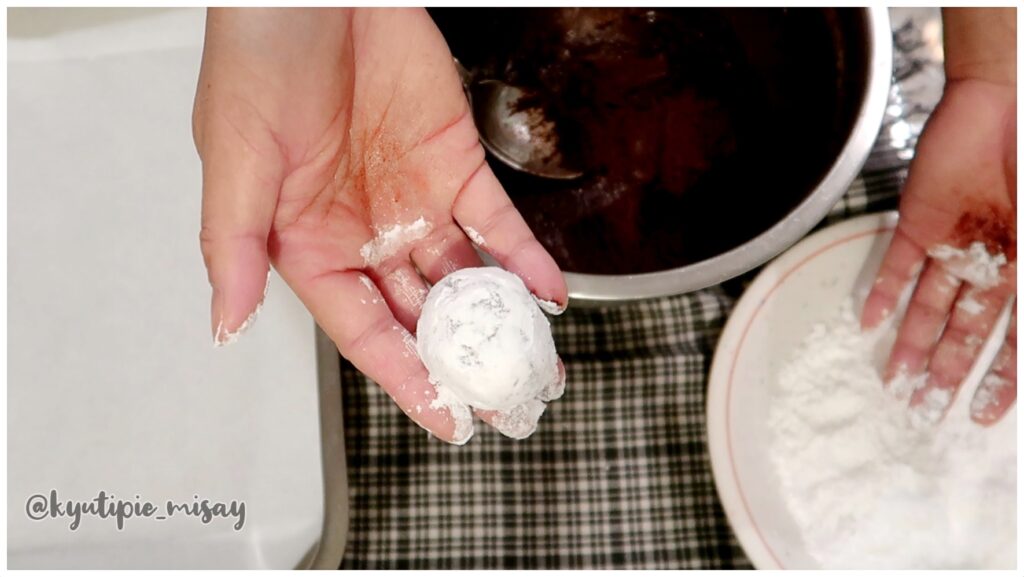
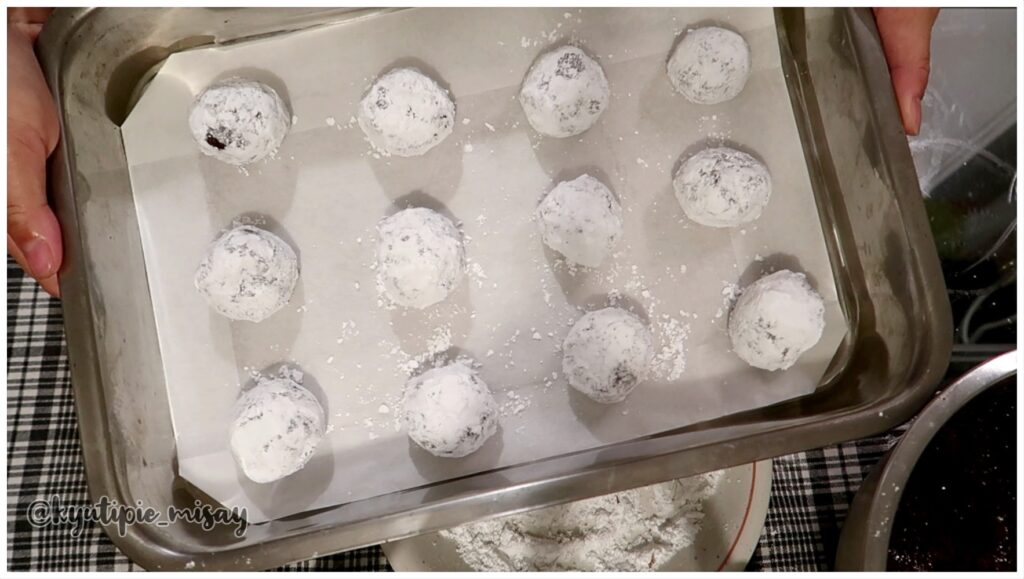
  • Preheat oven to 350 degrees F (175 degrees C). Line cookie sheets with parchment paper. Roll dough into one inch balls.

    Coat each ball in confectioners' sugar before placing onto prepared cookie sheets.

  • Bake in preheated oven for 10 to 12 minutes. Let stand on the cookie sheet for a minute before transferring to wire racks to cool.


 #ChocolateCrinkles #PinoyCrinkles #HighSchoolCrinkles #vlogNiMisay #tagalogVlog 

 Would you like to shout me a cup of coffee ☕️ 

 πŸ­I have made a Patreon account:


 DISCLAIMER: Items were purchase with my own money unless otherwise stated. All opinions are honest and my own!

I hope you all enjoyed watching my video and if you did please don't forget to tap my back with BIG like πŸ‘ and subscribe if you haven't yet ;)

PLease leave comment down below. I would be happy to read it all ..πŸ’œπŸ’‹


Wednesday, June 30, 2021

FILIPINO PAN DE COCO | PERFECT PAN DE COCO


🍞[WATCHinHD] Hello Superfriends! I'm back sa balakubak! Let's bake Filipino Pan De Coco bread. Pan de Coco is one of our favorite traditional Filipino bread for our merienda (afternoon snack) or breakfast. Filipino Pan de Coco are soft and buttery baked buns filled with sweetened coconut filling. Tara Bake tayo ng Pan de coco. 

Ingredients:

🍞 Dough 
  • 2 ¼ tsp. active dry yeast or instant yeast 
  • 1 cup lukewarm milk 
  • ½ cup sugar 
  • 4 cups bread flour or All-Purpose flour 
  • ½ cup oil 
  • 1 large egg 
  • 1 tsp salt 
  • 1 tbsp vanilla 
 πŸž Coconut Filling 
  • 1 cup Desiccated Coconut / Fresh Grated Coconut 
  • ¼ cup Brown Sugar 
  • ¼ cup Butter 
  • ⅛ Cup Heavy Cream 
  • 1 tsp Cinnamon powder 
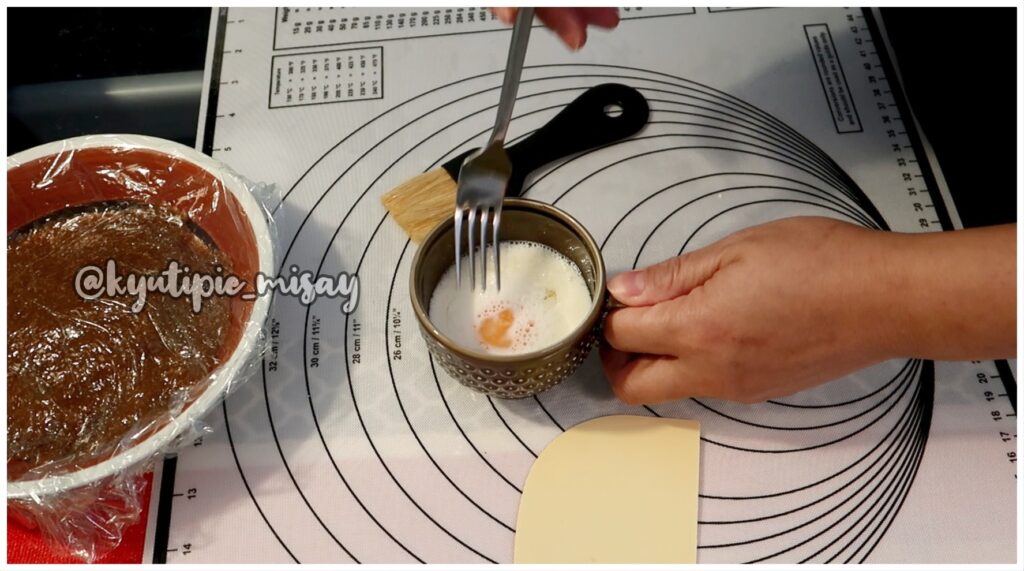
 πŸž Eggwash 1 egg & milk 

 πŸž Bake for 25 minutes in 180 °C (356°F) 

🍞 INSTRUCTIONS:

FOR THE DOUGH:

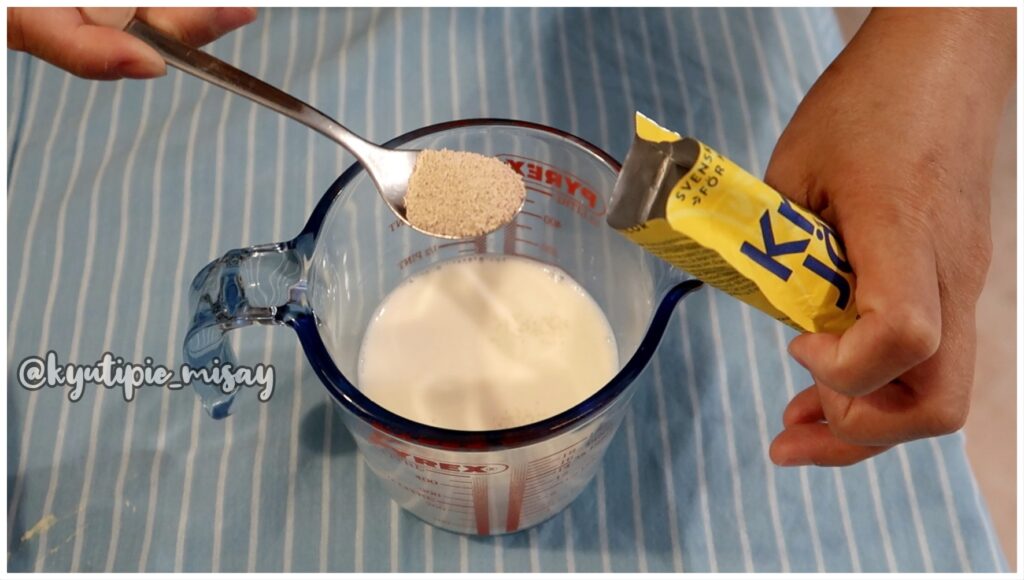
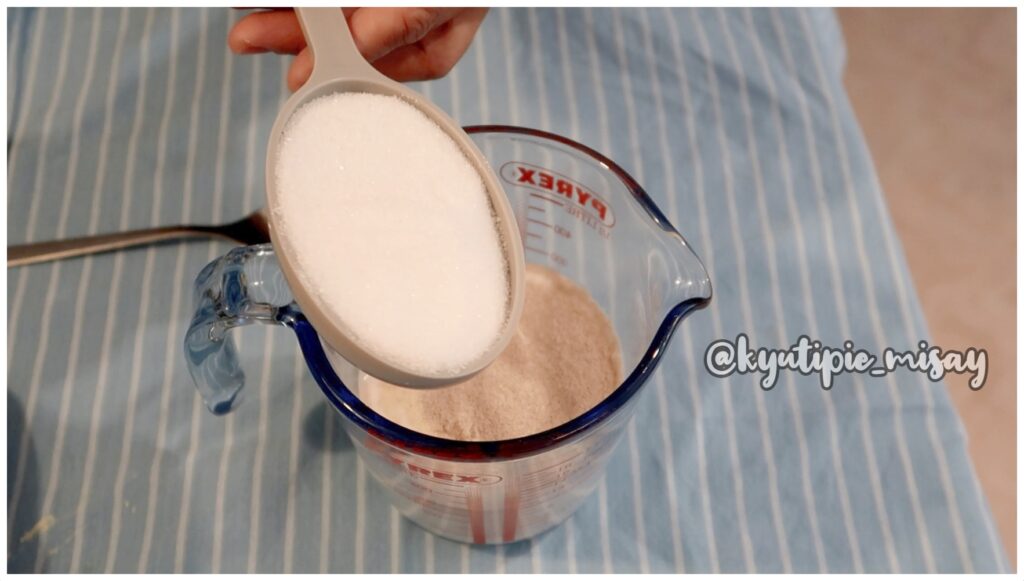
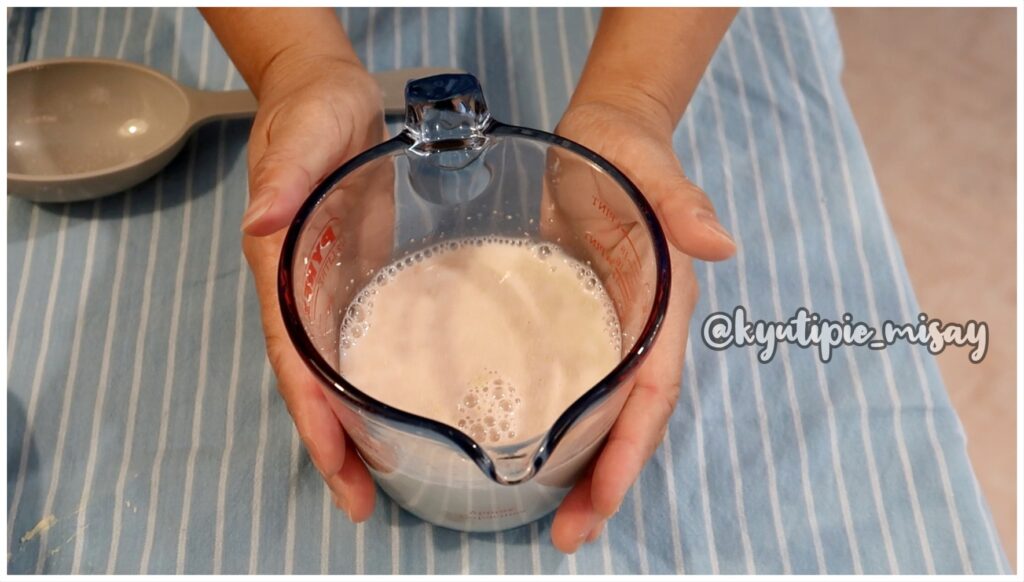
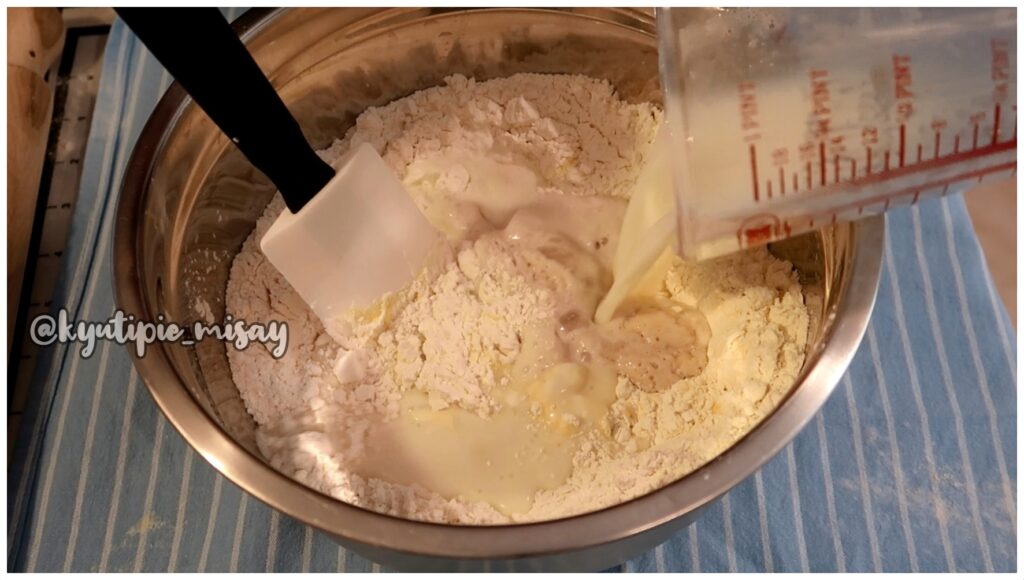
1. Combine 1 cup lukewarm milk, ½ cup of sugar, and 2 ¼ tsp. active dry yeast or instant yeast. Stir until completely dissolved. Let it stand for 5 to 10 mins until yeast begins to foam.

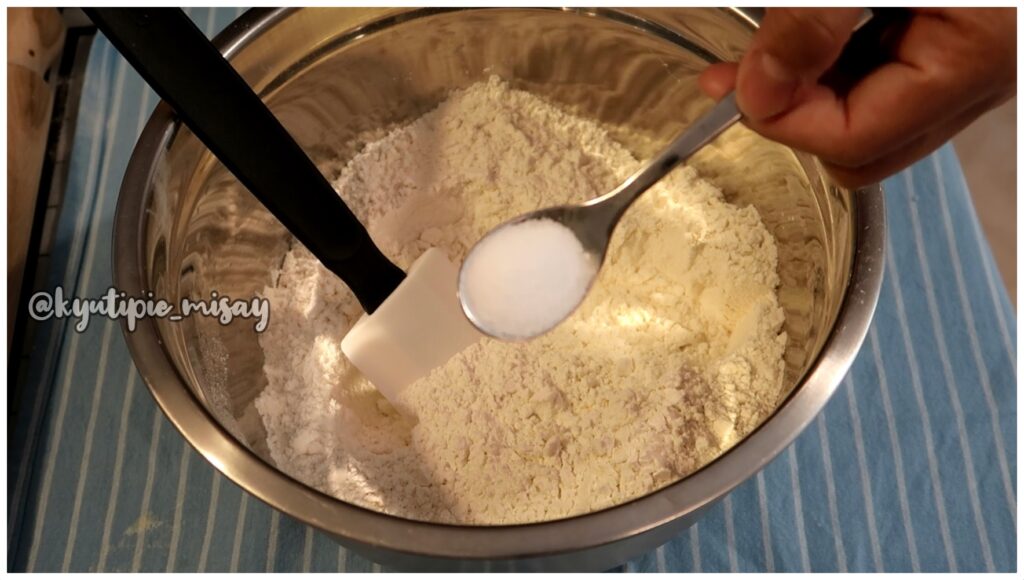
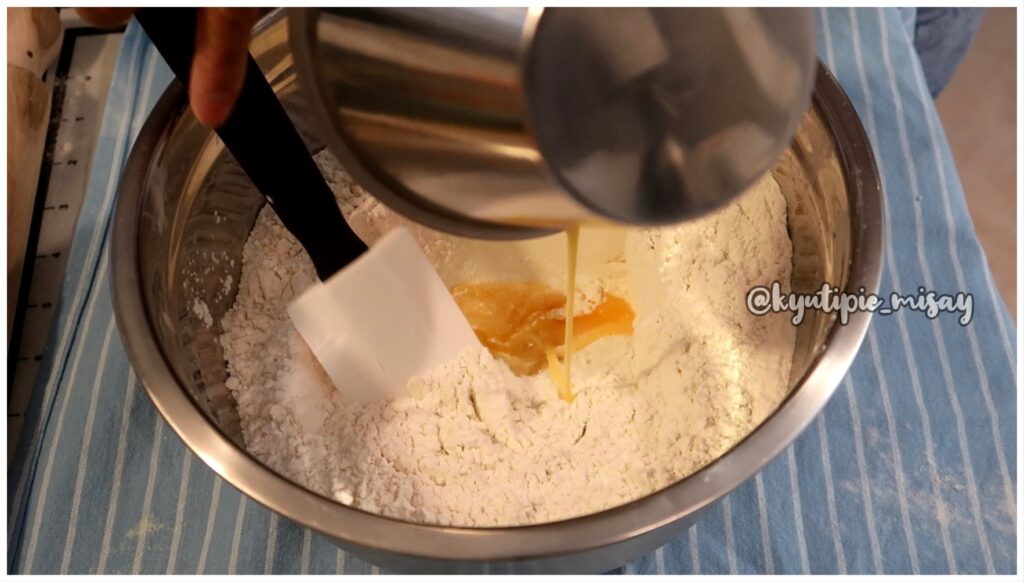
2. In the bowl of your stand mixer, combine flour and salt. Mix thoroughly. Then add egg.


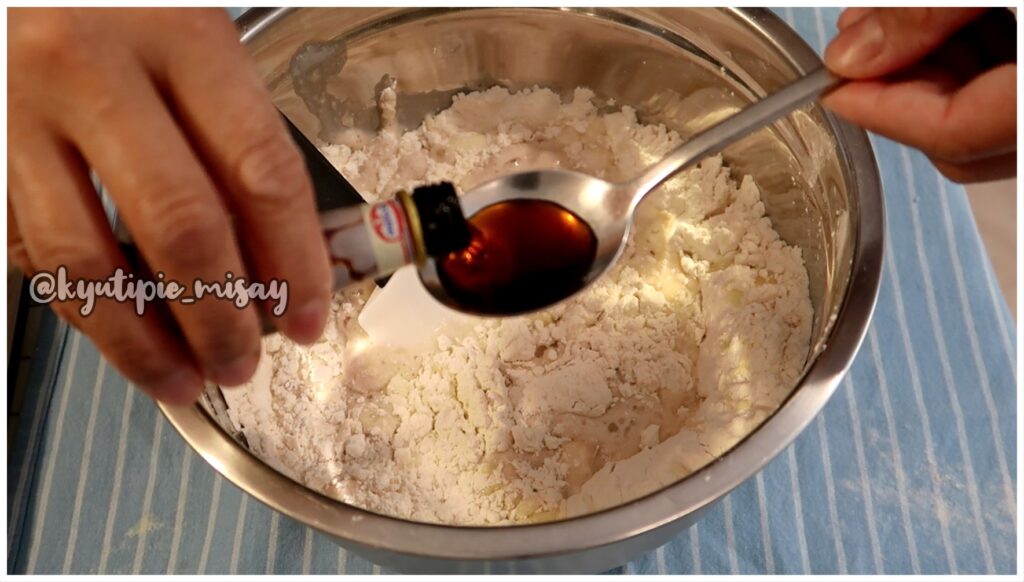
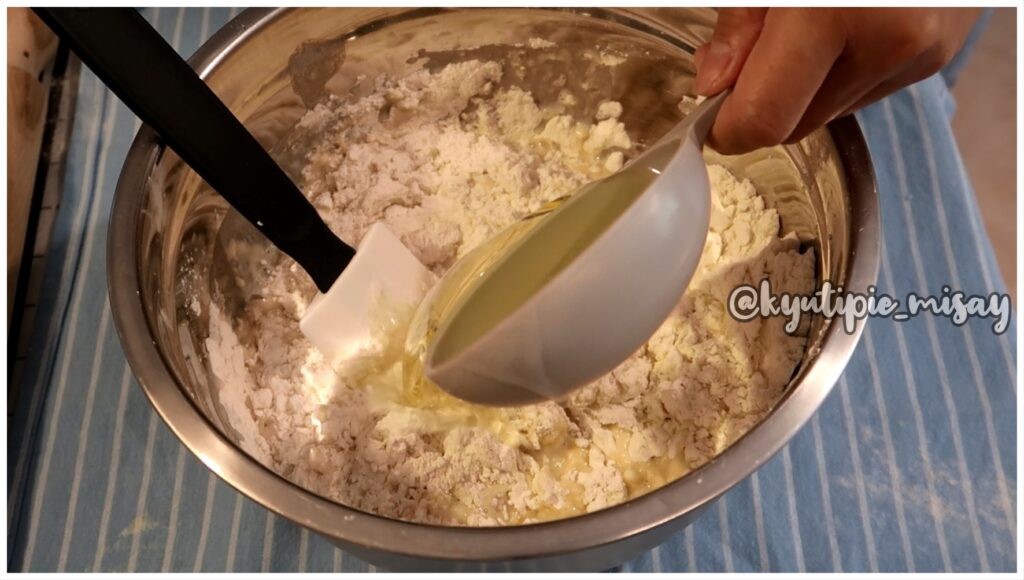
3. Then add vanilla, yeast mixture and oil. Stir until just combined.

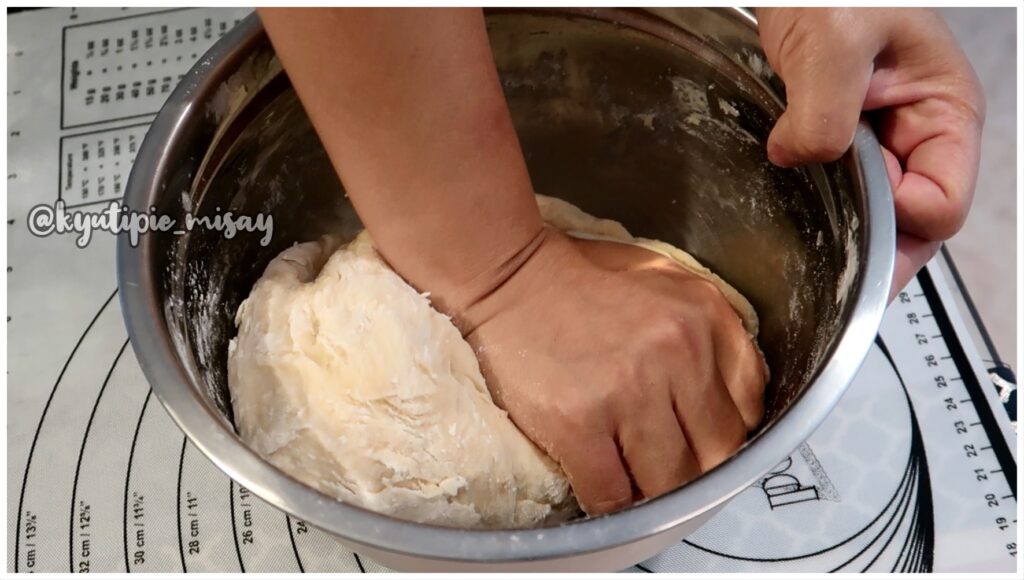
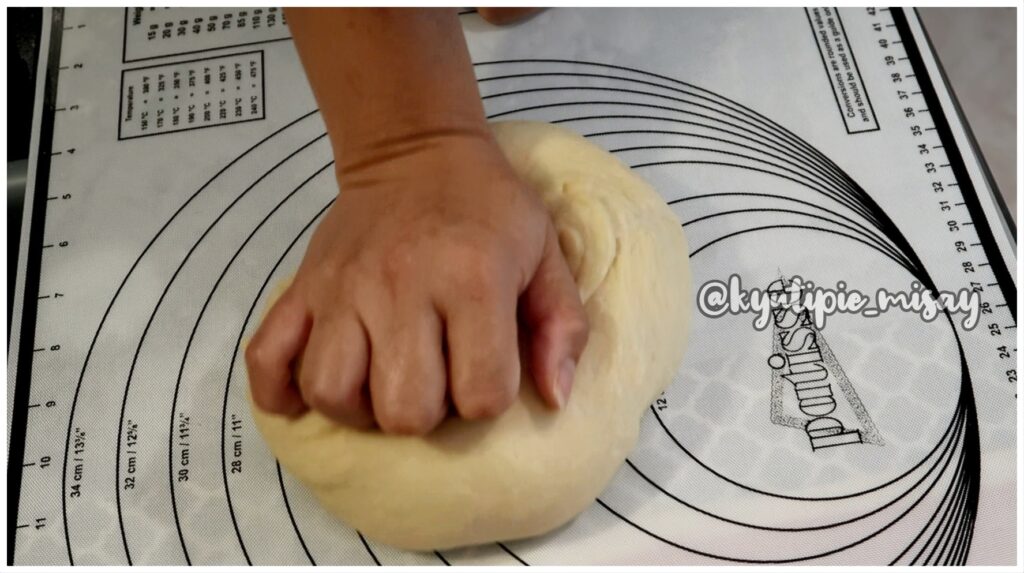
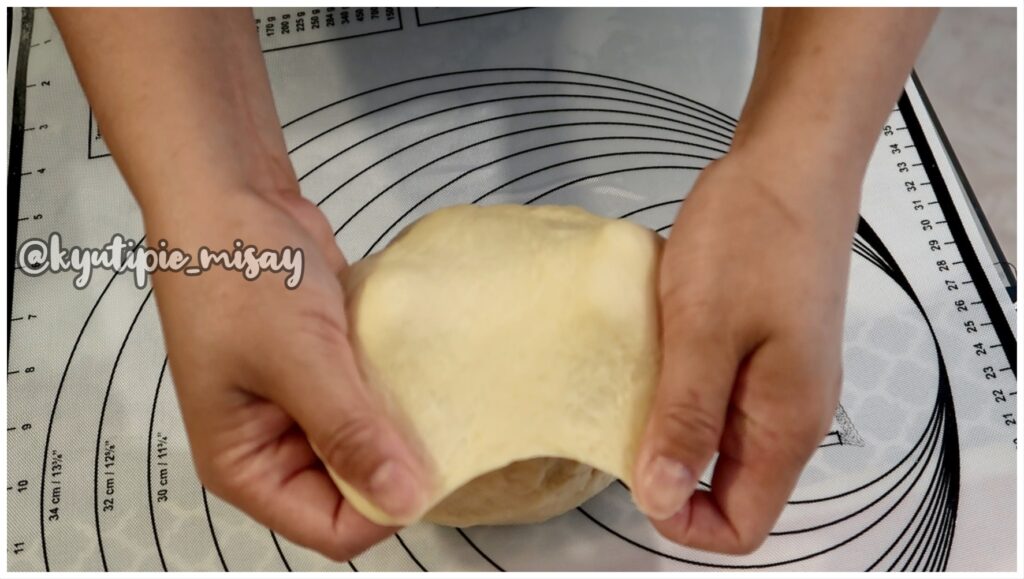
4. Knead the dough for 15 minutes until your dough becomes soft and elastic. Do the windowpane test, just take a small ball of dough and start to gentry stretch it out.


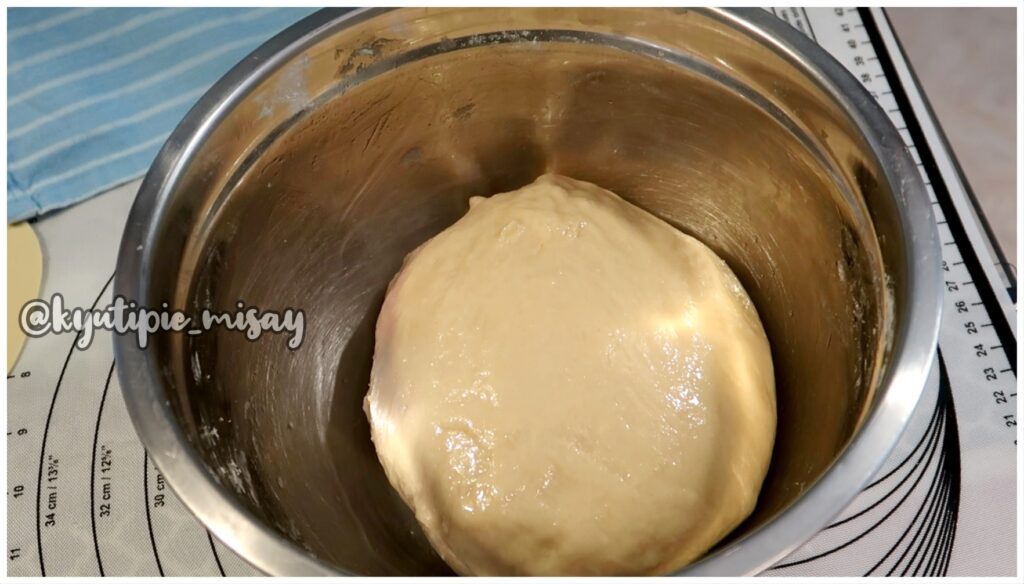
5. Place the dough in the bowl greased with cooking oil, cover it and let it rise (proof) for 1 hour. When the dough doubled in size you know you achieved a good rise.

FOR THE PANDE COCO FILLING:

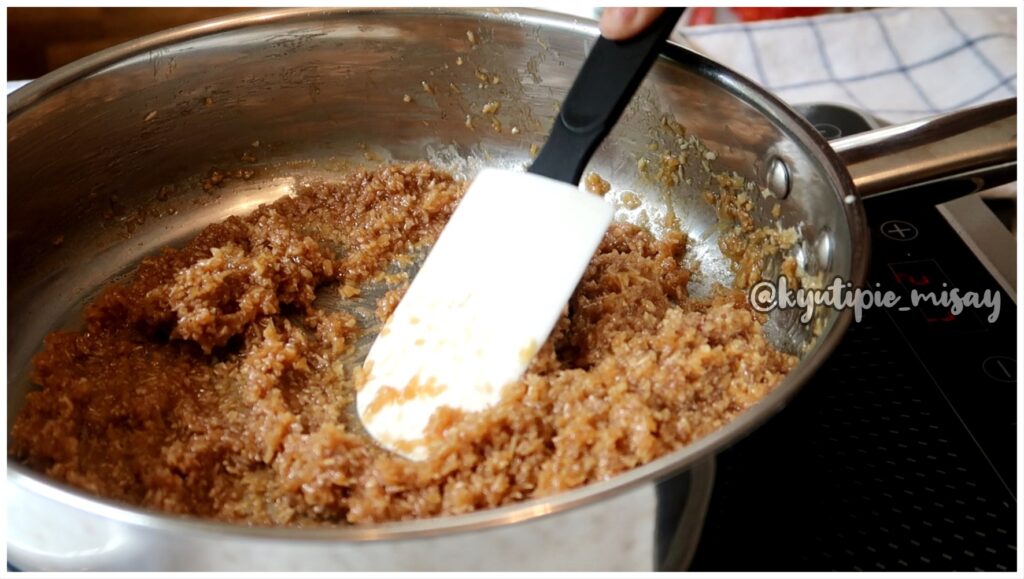
6. In a cooking pot over low heat, combine desiccated coconut, butter, sugar and heavy cream. Cook for a few minutes and mix well until well incorporated.

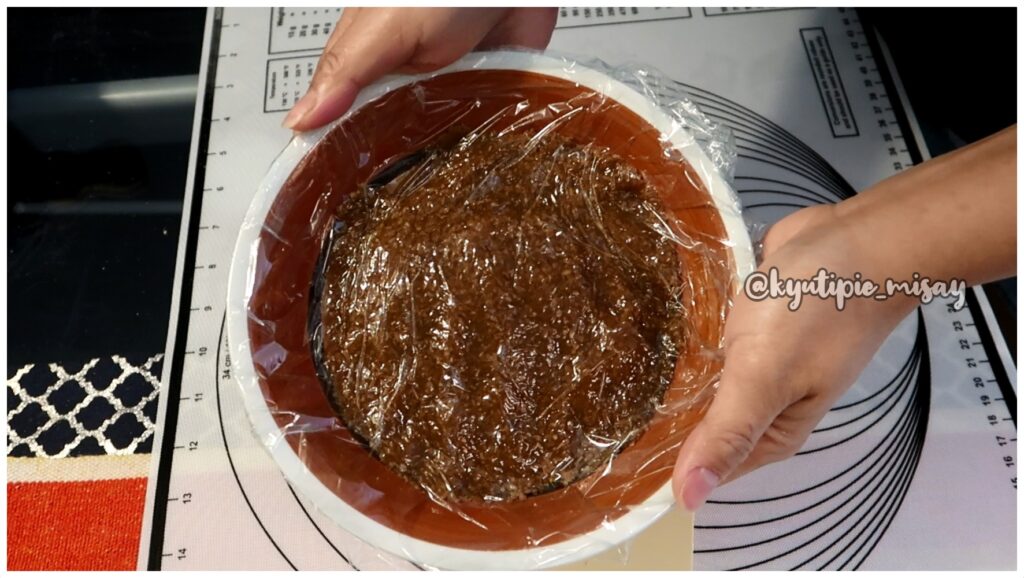
7. Simmer until the sugar melts and has a sticky texture. Set aside and let it cool down.

FOR TPREPARATIONS:

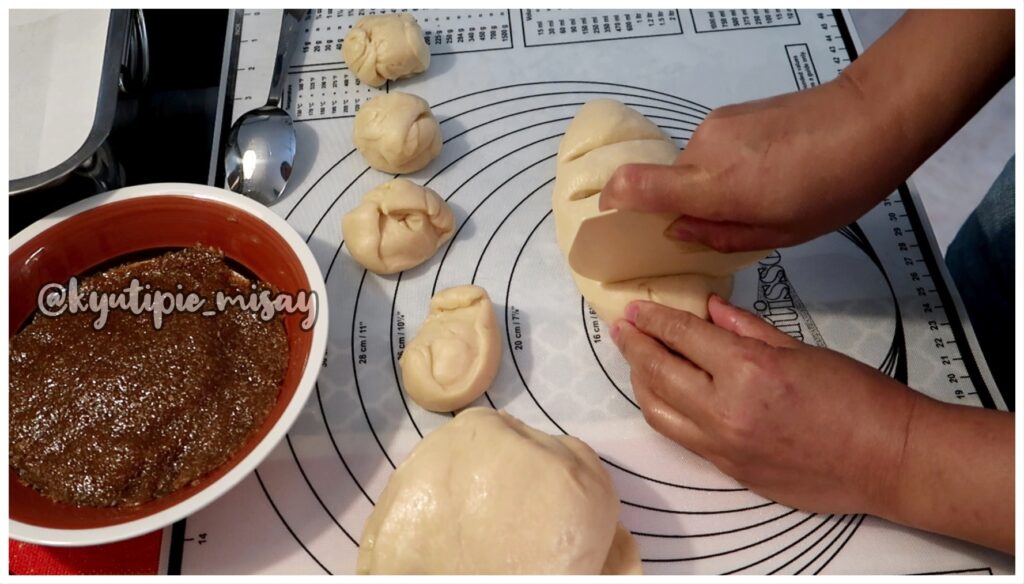
8. Divide the dough into portions and form into balls. For an evenly sized dough you can use a kitchen scale.


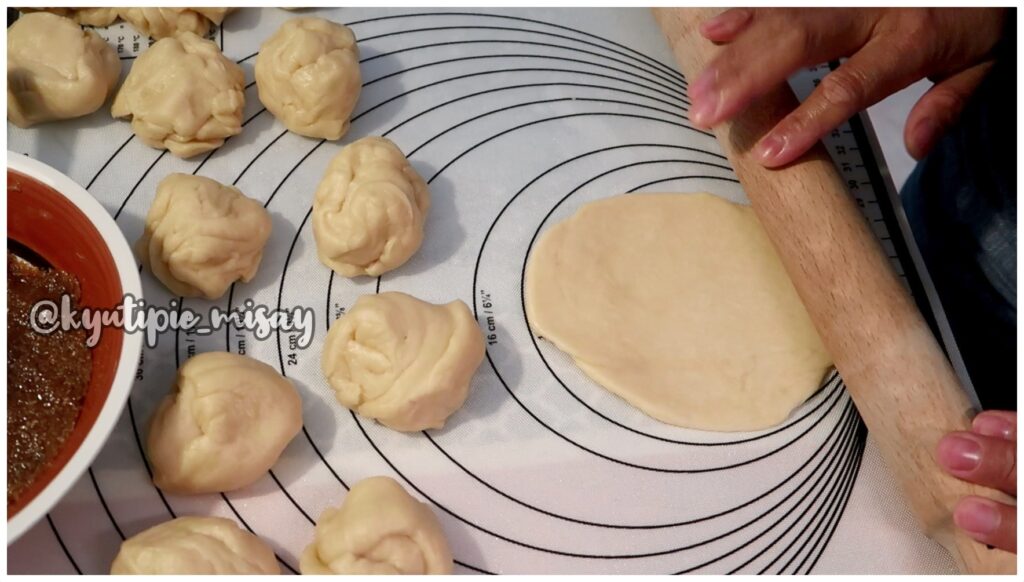
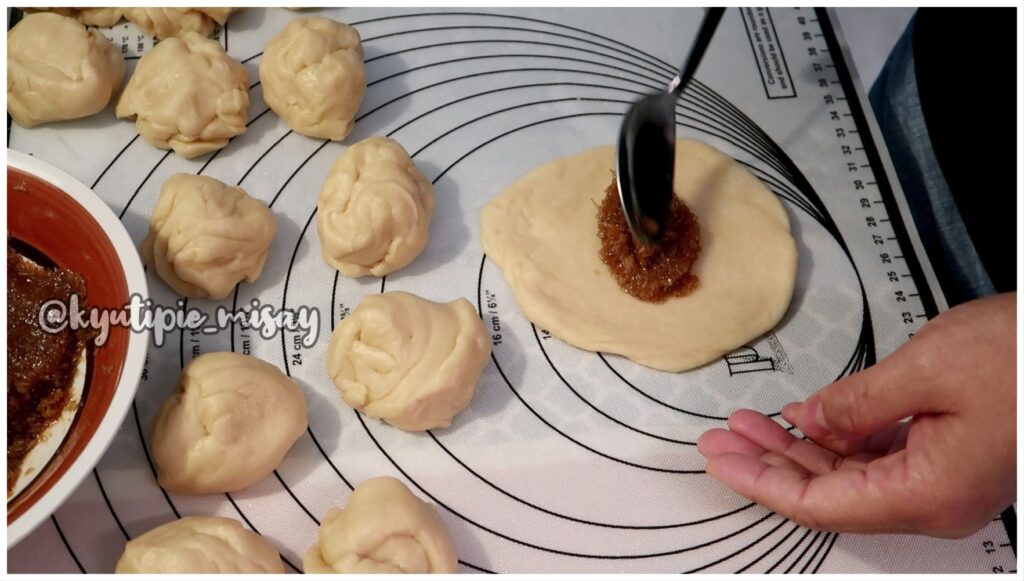
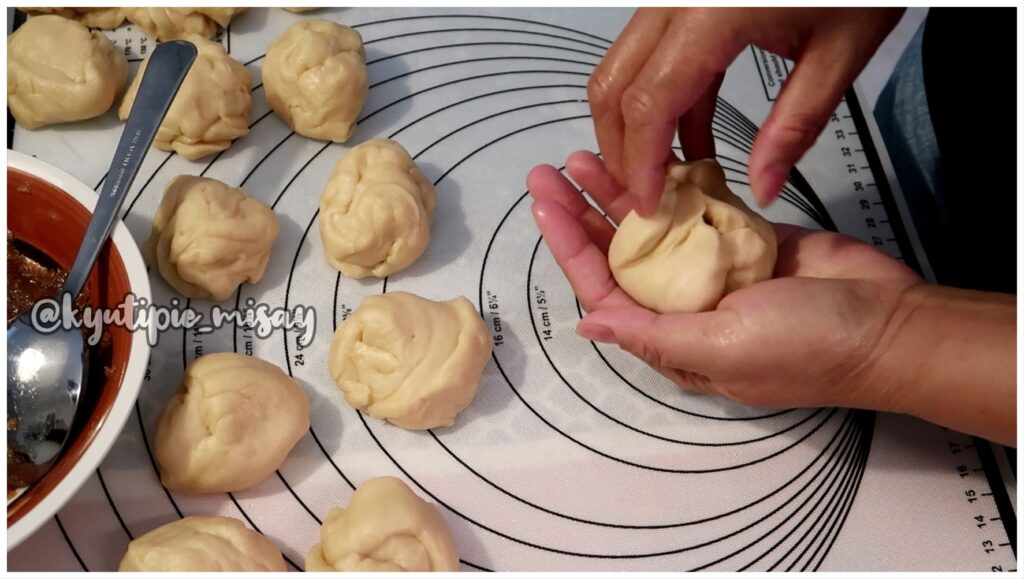
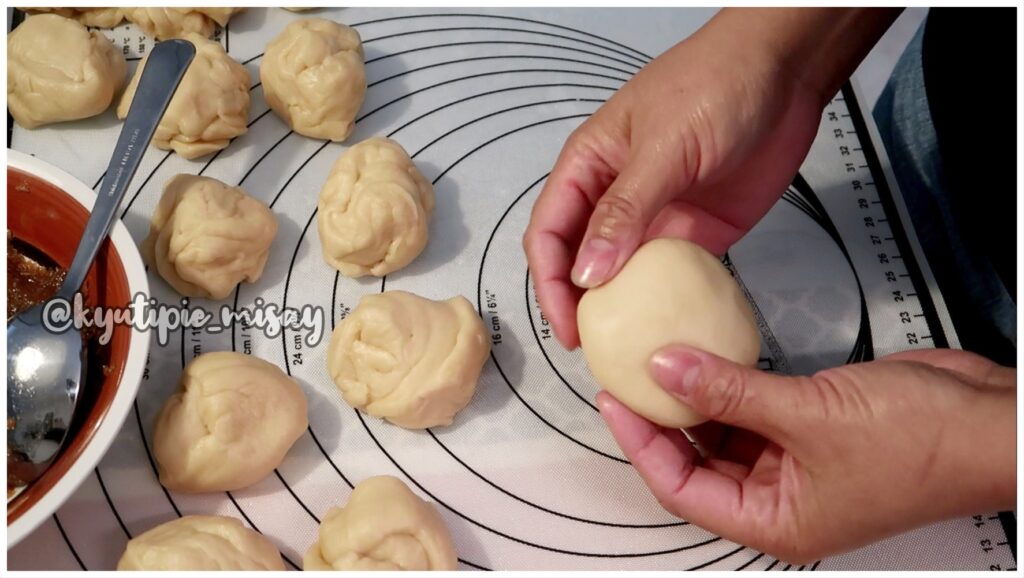
9. Using a light rolling pin flatten each ball into a thick disc shape. Place about 2 full teaspoons of filling. Fold dough over filling to meet in the center; pinch edges to seal.

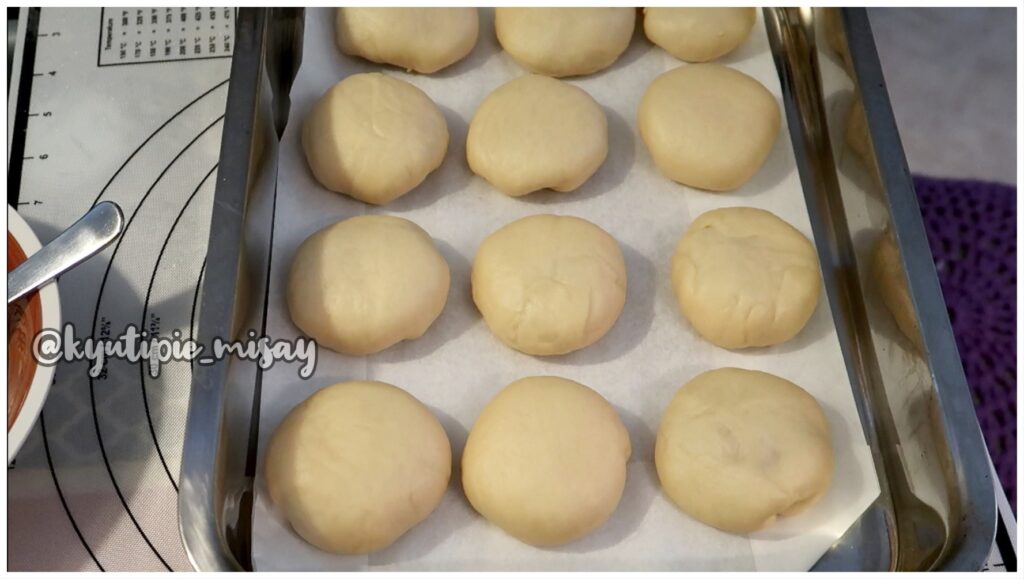
10. Repeat with all the other. Place all the filled dough on a baking tray with parchment paper and let it rise for another 1hr. While waiting you can now pre-heat the oven (375°F or 180°C°).

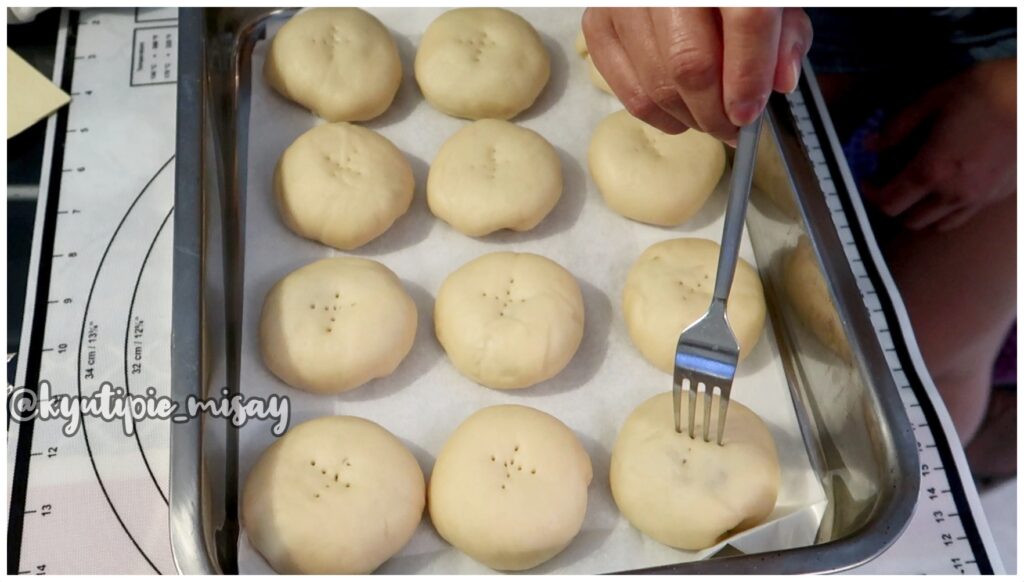
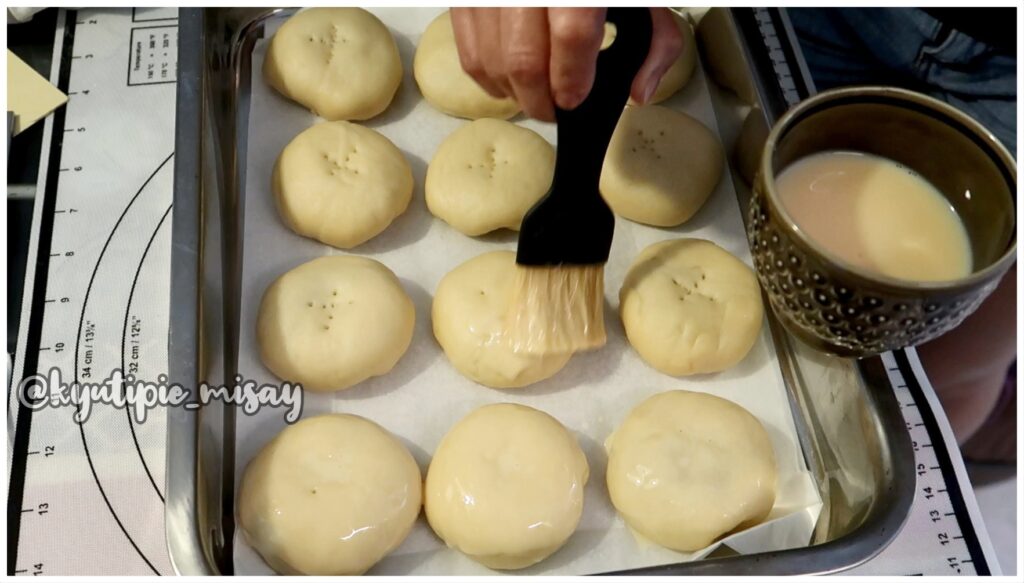
11. Before baking poke the top of dough with fork and carefully brush the rolls lightly with the egg wash. (1 beaten egg + milk).


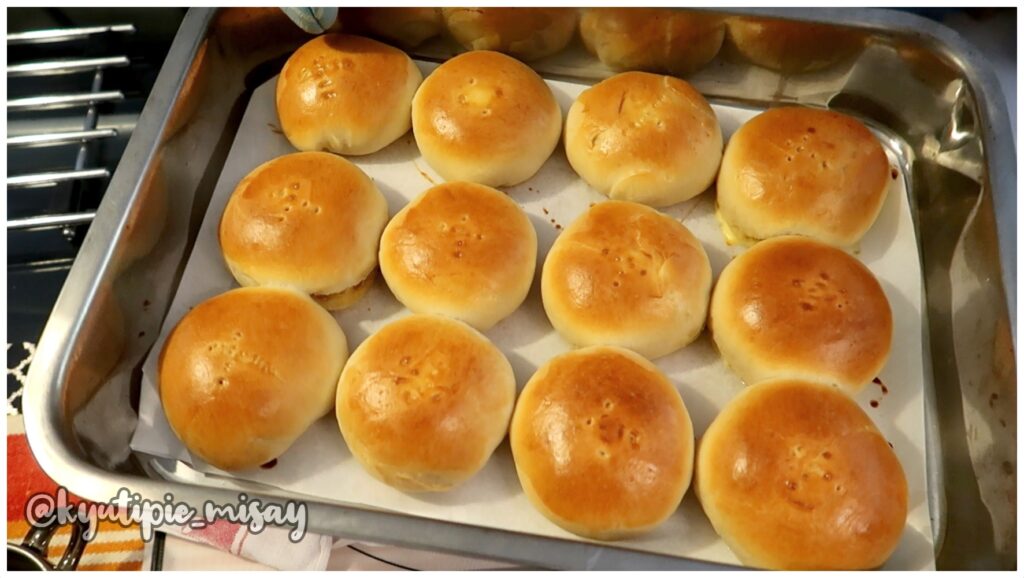
12. Bake for 25 minutes or until the top turns light brown.

13. Tadaaaahhh! enjoy your meryenda! fika!


 ☀ Want to check my FILIPINO EMPANADA RECIPE πŸ‘‡ 

 ☀ Want to check my PINOY STYLE SOPAS RECIPE πŸ‘‡ 

#PandecocoRecipe #FilipinoPandeCoco 

Would you like to shout me a cup of coffee ☕️

 πŸ­I have made a Patreon account:


 DISCLAIMER: Items were purchase with my own money unless otherwise stated. All opinions are honest and my own!

I hope you all enjoyed watching my video and if you did please don't forget to tap my back with BIG like πŸ‘ and subscribe if you haven't yet ;)

PLease leave comment down below. I would be happy to read it all ..πŸ’œπŸ’‹